
DIY hull maintenance is one of the highest-value skills a boat owner can learn because a clean bottom improves speed, lowers fuel burn, protects coatings, and reduces the long-term cost of ownership. In plain terms, hull maintenance means inspecting, cleaning, and preserving the underwater portion of the boat so marine growth, corrosion, and coating failure do not quietly undermine performance. When owners say a boat feels sluggish, needs more throttle to plane, or has lost a knot or two at cruising speed, the hull is often the first place I look. Barnacles, slime, weed, and shell buildup create drag immediately, and drag multiplies operating costs faster than most new owners expect.
This topic matters far beyond cosmetics. Even a light biofilm can increase resistance enough to raise fuel consumption, while heavier fouling can clog intakes, stress engines, and reduce range. For sailboats, fouling hurts pointing ability and light-air performance. For trailered boats, poor cleaning habits can stain gelcoat, damage painted surfaces, and shorten the life of waxes and sealants. For boats kept in the water, hull care also intersects with environmental compliance, because scraping growth indiscriminately can release paint particles and invasive organisms. That is why a good DIY boat maintenance guide starts with the hull: it is the foundation of efficiency, handling, and durability.
In my own maintenance routines, the owners who save the most money are not always the ones who do every task themselves. They are the ones who know which jobs can be handled safely at home, which require a haul-out yard, and how to build a repeatable schedule. This hub article covers that full system. You will learn how to inspect the bottom, choose the right cleaning method for gelcoat or antifouling paint, handle props and running gear, document condition, and decide when repainting or professional service is the smarter move. If you are building a DIY boat maintenance guide for your own boat maintenance and repairs plan, start here and use each section as your checklist.
Start With Inspection, Records, and a Realistic Maintenance Schedule
The best hull cleaning strategy begins before you touch a brush. First identify how the boat is stored: on a trailer, on a lift, in dry stack, or in the water full time. A trailered fiberglass runabout may need frequent rinsing and periodic polishing but no antifouling paint. A coastal center console in a warm marina may develop slime within days and barnacles within weeks. Freshwater fouling usually grows more slowly than saltwater fouling, but zebra mussels and mineral staining create their own problems. Climate, salinity, sunlight, water temperature, and usage pattern determine your interval more than the boat’s age or brand.
I recommend creating a simple maintenance log with five fields: date, hours, location, findings, and action taken. During each inspection, look for slime lines at the waterline, staining near through-hulls, blisters in gelcoat, paint flaking, exposed primer, galvanic corrosion on metal fittings, and dings from trailering or grounding. Photograph the same areas every time. That record helps you distinguish normal wear from a rapidly spreading issue, and it makes seasonal haul-out decisions far more objective. It also gives useful continuity when reading related checklists on washing topsides, caring for gelcoat, and servicing sacrificial anodes elsewhere in your boat maintenance and repairs plan.
A practical schedule looks like this: inspect monthly during the season, clean lightly as growth appears, check running gear every four to eight weeks for in-water boats, and perform a full bottom evaluation at haul-out. Boats in warm, nutrient-rich water may need diver cleaning every two to four weeks. Trailer boats often need a post-launch and post-retrieval rinse plus a deeper cleaning every few outings. The rule is simple: clean before growth hardens. Soft slime comes off easily; mature barnacles can gouge coatings and turn a fifteen-minute touch-up into a major repair.
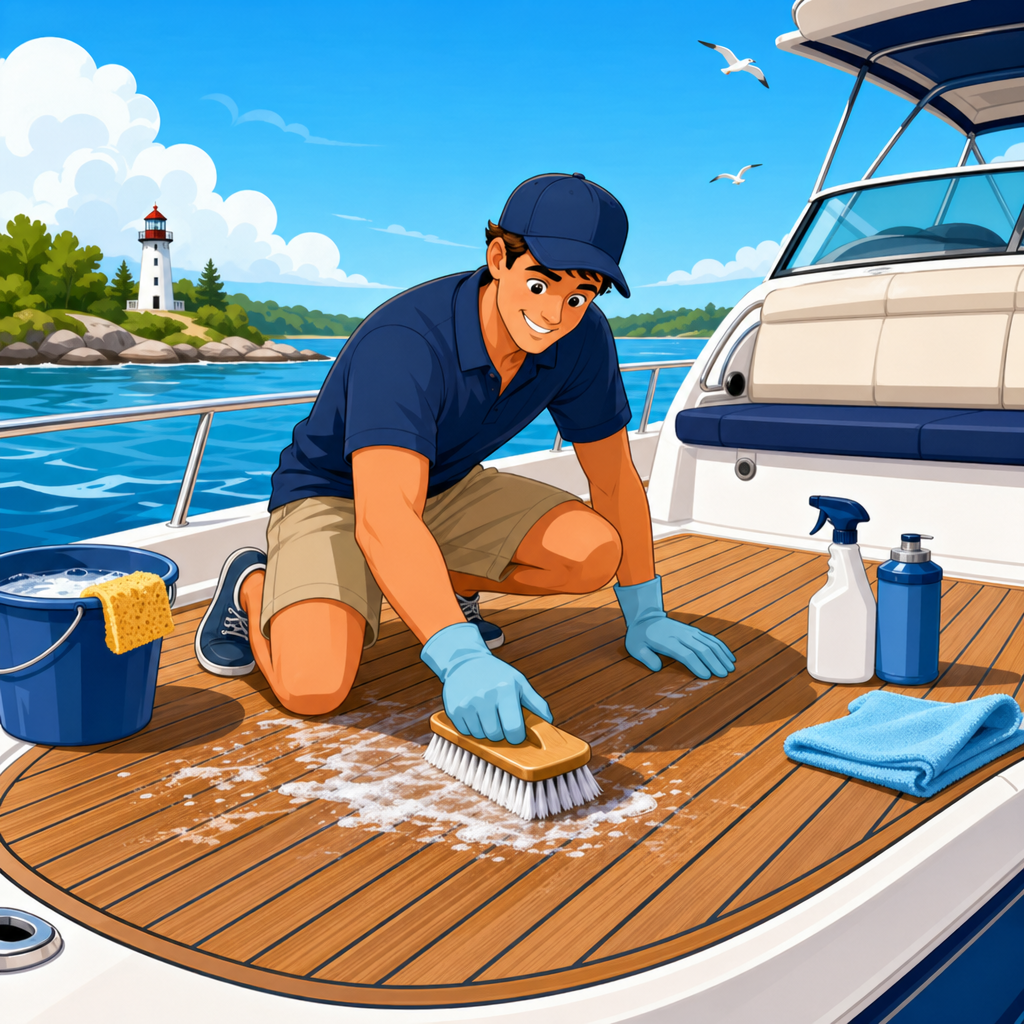
Choose the Right Cleaning Method for Your Hull Surface
Not all bottoms should be cleaned the same way. If your boat has bare gelcoat below the waterline because it is usually trailered, use pH-balanced boat soap, a soft wash mitt, and a non-abrasive sponge for waterline stains. For mineral deposits, use a dedicated hull cleaner labeled safe for fiberglass, following dwell times closely. Oxalic-acid-based stain removers are common and effective, but they should never be left to dry on the surface. Rinse thoroughly, wear gloves and eye protection, and test any cleaner in a small hidden spot first.
If the hull is coated with antifouling paint, the cleaning goal is to remove growth without stripping active biocide or polishing away the coating prematurely. Ablative paints are designed to wear gradually and expose fresh biocide, so aggressive scrubbing with stiff brushes can shorten their life dramatically. Hard modified-epoxy paints tolerate firmer cleaning but still should not be attacked with metal scrapers unless you are already preparing for repainting. The safest default is a soft cloth, carpet pad, or very soft brush used with light pressure. Always follow the paint manufacturer’s guidance; Interlux, Pettit, and Sea Hawk each publish cleaning and recoating instructions for specific formulas.
Pressure washing has a place, but timing and pressure matter. At haul-out, many yards pressure wash immediately while growth is still wet, which removes fouling more cleanly and reduces scraping. That is effective for preparing the hull for inspection, but too much pressure can erode soft paint, open laminate flaws, or force water into damaged areas. For routine home care, pressure washers are often overused. A nozzle that seems harmless on a driveway can scar gelcoat decals, lift boot stripes, and feather paint edges around previous repairs. Keep pressure modest, maintain distance, and never treat the hull like concrete.
| Hull condition | Best DIY method | Avoid | Typical interval |
|---|---|---|---|
| Trailered gelcoat with light scum | Boat soap, soft mitt, microfiber drying | Harsh acid cleaners, stiff deck brush | After outings or monthly |
| Waterline stains on fiberglass | Fiberglass-safe stain remover, short dwell, rinse | Letting cleaner dry, abrasive pads | As needed |
| Ablative antifouling with slime | Soft cloth or very soft brush in water | Heavy scrubbing, metal scraper | Every 2 to 6 weeks |
| Hard bottom paint with weed | Gentle brush and spot cleaning | Excessive pressure washing | Monthly or by growth rate |
| Barnacles on prop or trim tabs | Plastic scraper, fine wet sanding if appropriate | Steel tools on coated metals | At inspection |
Clean Running Gear, Through-Hulls, and the Waterline Before They Become Problems
Many owners focus on the broad hull surface and forget the hardware that affects performance just as much. Propellers, shafts, struts, trim tabs, rudders, transducers, and raw-water intakes foul quickly because they interrupt flow and often have dissimilar metals nearby. A few barnacles on a prop can create vibration, reduce top speed, and worsen fuel economy. Fouled seawater intakes can restrict cooling flow. Growth around a paddlewheel speed sensor can make your instruments misleading, causing you to misjudge trim and engine load.
For props and metal appendages, use plastic scrapers, gray nonwoven pads, and purpose-made metal-safe descalers when needed. Stainless props can sometimes be restored with very fine wet sanding and polishing, but coated aluminum lower units require much more caution because removing coating exposes metal to corrosion. Never sand through a factory finish casually. If growth is severe on outdrives or lower units, inspect the paint system and anodes together; recurring buildup often accompanies coating damage or inadequate cathodic protection. This is where DIY knowledge is valuable: cleaning reveals the problem, but the repair may involve primers, aluminum-safe antifouling, and anode placement that should match manufacturer specifications.
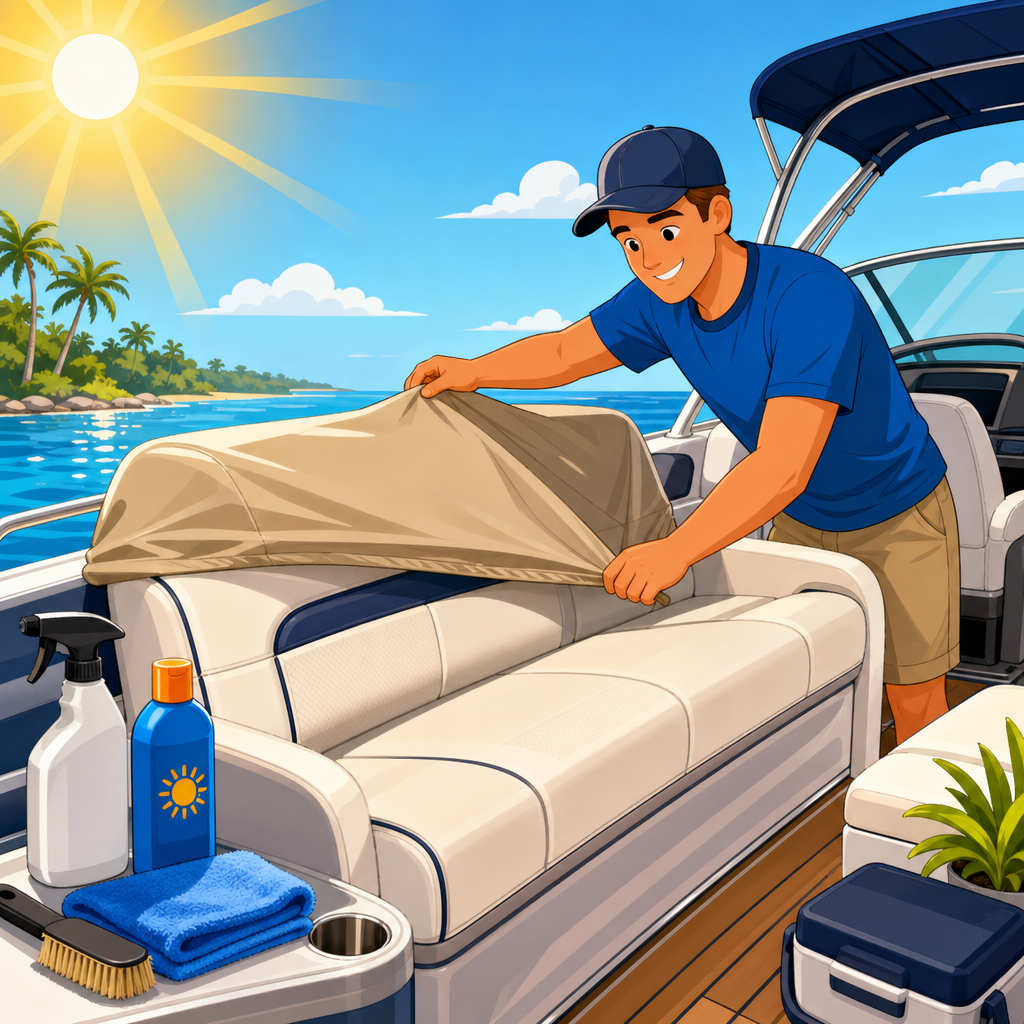
The waterline deserves its own routine because it collects oils, tannins, exhaust residue, and scum. I prefer to remove waterline stains early with a dedicated hull stain remover rather than compounding the area repeatedly. Compounding removes oxidation but also removes material. Once clean, protect the topside just above the boot stripe with a marine wax or sealant appropriate for gelcoat, which makes the next cleanup easier. If your sub-pillar plan includes separate guides on polishing, waxing, and gelcoat oxidation removal, link those steps in your annual workflow so hull cleaning does not become isolated from the rest of your DIY boat maintenance guide.
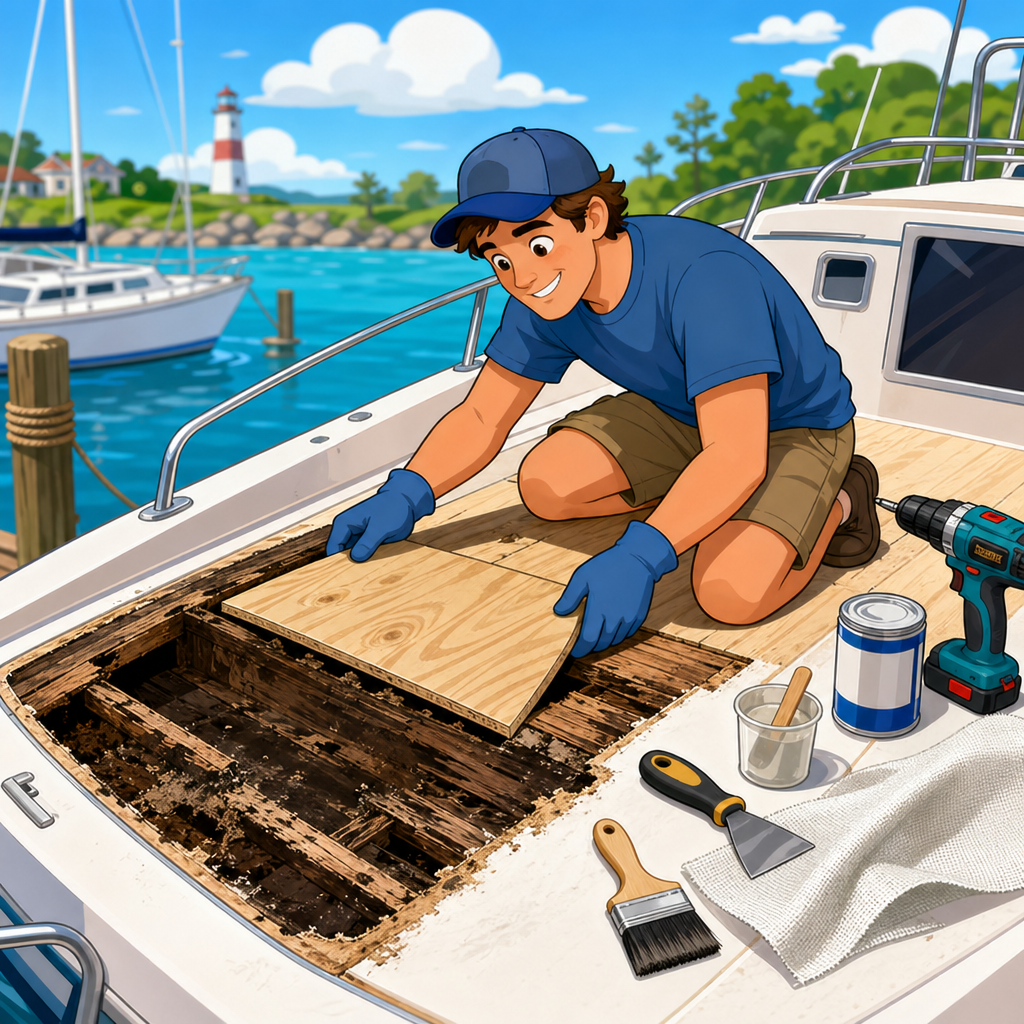
Know When Cleaning Is Not Enough: Paint Failure, Blisters, and Safety Limits
DIY hull maintenance saves money only when it stops short of false economy. If bottom paint is chalking heavily, flaking in sheets, or exposing large areas of primer, repeated cleaning will not fix the root cause. The same is true for osmotic blistering, which appears as raised bumps in the laminate or gelcoat. Small isolated blisters on older fiberglass boats are not always a crisis, but clusters, fluid-filled blisters, or expanding areas warrant a proper moisture assessment and repair plan. Ignoring them because the boat still floats is a mistake I have seen turn manageable yard work into an expensive structural restoration.
There are also clear safety boundaries. Do not work under an improperly blocked boat. Do not dive under a vessel in current, poor visibility, or around energized docks. Marinas with stray current risks are not places for casual in-water cleaning. Use eye protection, chemical-resistant gloves, and a respirator when sanding old coatings because antifouling dust can contain copper and other hazardous compounds. Many regions restrict in-water hull cleaning to reduce paint release and invasive species transfer, so check marina rules and local regulations before you scrub. Good boat maintenance and repairs practice includes compliance, not just clean results.
A useful decision rule is this: if the task requires removing multiple layers of old paint, addressing laminate moisture, fairing damaged sections, or matching a specialized coating system, get professional input. If the task is routine washing, light slime removal, waterline stain treatment, visual inspection, and careful hardware cleaning, DIY is usually appropriate. That distinction keeps your maintenance budget efficient and your repairs durable.
Build a Hub-and-Spoke Routine for the Entire DIY Boat Maintenance Guide
The reason hull care works well as a hub article is that it connects to almost every other maintenance system on the boat. A bottom inspection naturally leads to checking zincs or aluminum anodes, shaft seals, trim-tab fasteners, seacock condition, bilge dryness, and engine cooling performance. A haul-out for cleaning is the ideal time to inspect trailer bunks and rollers, verify through-hull bedding, polish the topsides, and touch up boot stripes. When owners organize maintenance this way, each task reinforces the next instead of creating separate weekends of duplicated setup and cleanup.
My recommended workflow is straightforward. After retrieval or haul-out, rinse first. Inspect second. Clean the least aggressive way that achieves the result. Document what you found. Protect any exposed surfaces. Then schedule the next related task before the boat goes back into service. For example, if you discover thin paint near the bow and heavy prop fouling, note both in your log, order materials, and attach repainting and anode inspection to the same calendar window. This simple sequencing is what turns scattered chores into a true DIY boat maintenance guide that lowers costs and prevents missed issues.
Keep your tool kit focused: soft brushes, microfiber cloths, a plastic scraper, pH-neutral soap, fiberglass-safe stain remover, gloves, eye protection, a moisture-resistant notebook or digital log, and manufacturer-approved cleaners for your paint and metals. Avoid filling lockers with miracle products. Consistency beats novelty. The cleanest, fastest, least expensive boats I see are maintained by owners who inspect often, clean gently, and act on small changes before they become repairs.
DIY hull maintenance pays off in better performance, lower fuel use, fewer surprise repairs, and a boat that is easier to sell when the time comes. The essentials are simple: inspect on a schedule, match the cleaning method to the hull surface, pay close attention to running gear and the waterline, and recognize when coating failure or blistering calls for professional help. As the hub for your Boat Maintenance & Repairs subtopic, this guide should anchor related routines for washing, polishing, bottom painting, anode replacement, and seasonal haul-out planning.
If you want a boat that runs efficiently and stays in better condition year after year, start with the bottom and build a repeatable checklist around it. Review your storage type, create a maintenance log today, and schedule your next hull inspection before the current growth becomes tomorrow’s repair bill.
Frequently Asked Questions
Why is keeping a boat’s bottom clean so important for performance and cost?
A clean hull directly affects how efficiently your boat moves through the water. Even a light layer of slime creates drag, and once barnacles, weed, or other marine growth begin to build up, the boat has to work much harder to maintain the same speed. That usually shows up as slower acceleration, reduced top-end performance, more throttle required to get on plane, and higher fuel consumption. In real-world terms, many owners first notice bottom fouling when the boat feels sluggish or starts burning more fuel on familiar runs.
Beyond performance, regular hull maintenance protects your investment. Marine growth can damage or shorten the life of bottom coatings, and neglected underwater surfaces can hide problems such as blistering, coating failure, corrosion around metal components, or damage near through-hulls and running gear. By inspecting and cleaning the hull on a routine schedule, you are not just making the boat faster—you are also catching small issues before they become expensive repairs. That is why DIY hull maintenance is such a high-value skill: it improves speed, lowers operating costs, protects coatings, and helps reduce long-term ownership expenses.
How often should I clean and inspect my boat’s bottom?
The right schedule depends on where the boat lives, how often it is used, and how quickly marine growth forms in your area. Boats kept in warm water, nutrient-rich marinas, or areas with heavy fouling often need more frequent attention than boats in colder water or those that are regularly trailered. As a practical rule, inspect the bottom often enough that you can remove slime and early growth before it hardens into a much bigger problem. For many boat owners, that means quick visual checks every few weeks during peak season and more thorough cleanings on a regular monthly or seasonal basis, depending on conditions.
The key is consistency. If you wait until the boat has already lost noticeable speed or fuel economy, you have waited too long. A better approach is to track changes in performance over time. If the engine needs more RPM to hit your normal cruise speed, if the boat struggles to plane, or if fuel burn climbs without another clear cause, bottom fouling should be near the top of your checklist. Regular inspections also help you monitor the condition of the antifouling paint, look for scrapes or flaking, and identify early signs of corrosion around propellers, shafts, trim tabs, and other underwater hardware. A predictable maintenance rhythm is almost always cheaper and easier than a once-a-year scramble to fix accumulated problems.
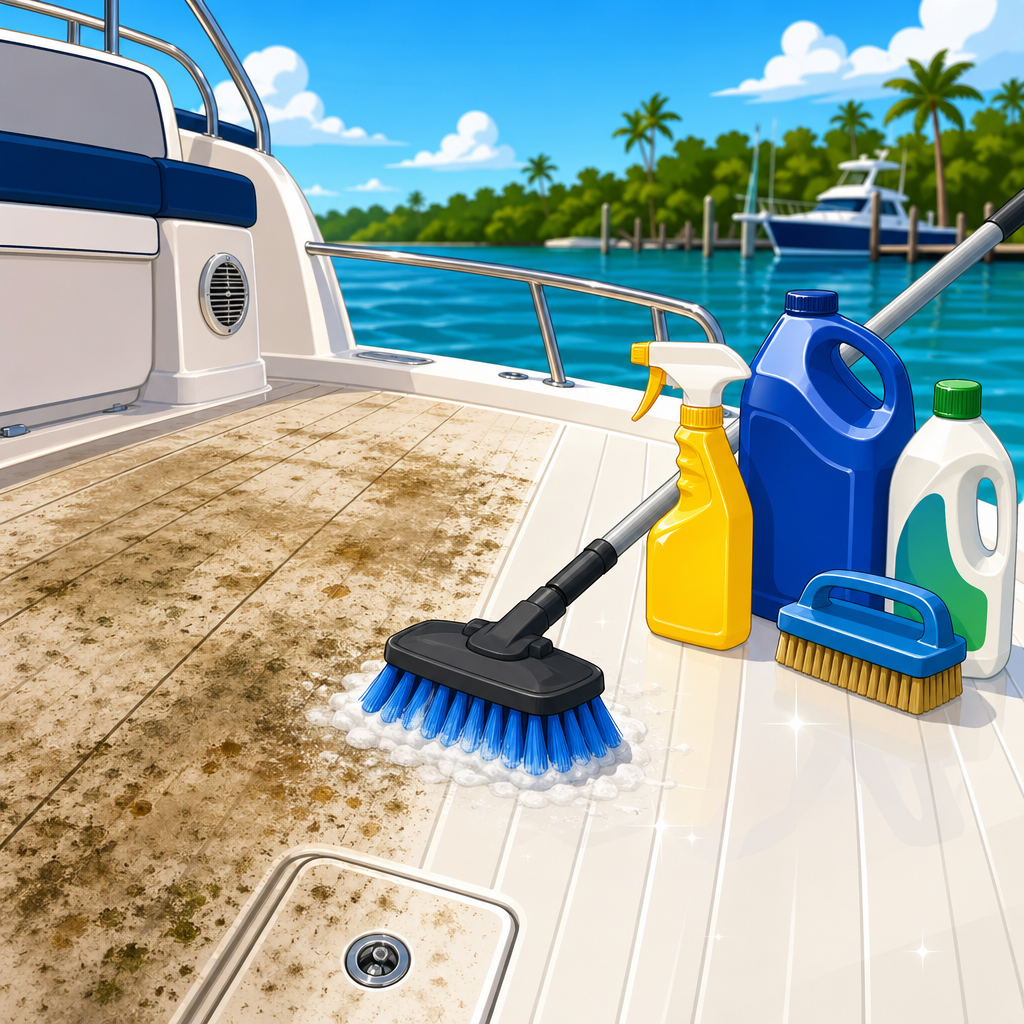
What is the safest DIY way to clean the hull without damaging the bottom paint?
The safest method is to match your tools and technique to the type and condition of the coating already on the hull. In most cases, gentle cleaning is the right starting point. Soft brushes, non-abrasive pads, and boat-safe cleaning tools are usually enough to remove slime and light growth without stripping away healthy antifouling paint. If the boat is out of the water, rinse the surface first, work in sections, and avoid aggressive scraping unless you are dealing with stubborn buildup. If the boat is in the water, use light pressure and controlled motions so you are cleaning the fouling off the surface rather than grinding away the protective coating beneath it.
What you want to avoid is overcleaning. Stiff wire brushes, harsh abrasives, and random household chemicals can do more harm than good. They may remove growth quickly, but they can also thin the paint, create uneven wear, and shorten the life of the coating system. That means the hull may foul faster afterward, forcing you into a more frequent and more expensive maintenance cycle. It is also important to pay close attention around transducers, trim tabs, intakes, and running gear, where heavy-handed cleaning can damage sensitive components. If you are unsure what type of paint is on the hull, start conservatively and check the manufacturer’s guidance before using stronger tools or cleaners. The best DIY cleaning job is thorough enough to restore smoothness, but gentle enough to preserve the protective system already doing the hard work.
What should I look for during a hull inspection besides marine growth?
A good hull inspection goes far beyond asking, “Is it dirty?” You should be looking closely at the condition of the bottom paint, including thinning, patchy wear, flaking, chalking, or places where the coating has failed altogether. These areas can allow faster fouling and may indicate it is time for touch-up work or a full repaint. Also examine the hull surface for blisters, cracks, gouges, impact marks, or abrasions that may have developed from grounding, trailering, or debris strikes. Small defects can be easy to miss when the hull is fouled, which is another reason regular cleaning matters.
Pay special attention to underwater metals and hardware. Inspect propellers, shafts, struts, rudders, trim tabs, through-hulls, and any exposed metal fittings for signs of corrosion, pitting, damaged coatings, or missing anodes. Check whether sacrificial anodes are depleted and whether any nearby metal shows unusual wear that could suggest an electrical issue. Look around thru-hull fittings and seams for staining, looseness, or anything that suggests leakage or water intrusion. If your boat has transducers or sensors, make sure they are clean, secure, and not painted over in a way that affects performance. A disciplined inspection routine turns hull maintenance into preventive maintenance, which is exactly where DIY owners save the most money over time.
When is DIY hull maintenance enough, and when should I call a professional?
DIY hull maintenance is usually enough for routine inspections, light cleaning, tracking paint wear, replacing simple consumables like anodes, and keeping marine growth from getting out of control. If you are comfortable working safely around the boat, understand the basics of your bottom coating, and can recognize normal wear versus damage, you can handle a large percentage of bottom upkeep yourself. This is especially true when your goal is preventive care: staying ahead of slime, watching for early warning signs, and keeping the hull smooth so the boat performs the way it should.
It is time to involve a professional when you find anything structural, widespread, or uncertain. That includes heavy fouling that requires aggressive removal, large areas of paint failure, recurring blistering, visible corrosion on critical components, damage around through-hulls, unexplained water intrusion, or signs that galvanic or stray-current corrosion may be present. You should also call a pro if the boat needs hauling, sanding, repainting, or repairs that require specialized materials, environmental controls, or yard compliance. The smartest boat owners know that DIY and professional service are not opposites—they work together. Handle the routine maintenance yourself, document what you see, and bring in an expert when the issue crosses from upkeep into repair, diagnosis, or coating-system restoration.