Replacing worn boat carpet or upgrading to new marine flooring is one of the most practical improvements you can make to an aging vessel. In my experience restoring fishing boats, pontoons, and family runabouts, tired deck surfaces do more than look dated: they trap moisture, hold odor, hide soft spots, and make routine cleaning harder than it should be. A well-planned flooring replacement improves traction, comfort, resale value, and inspection access while giving you a chance to evaluate the condition of the deck beneath the surface.
This guide explains how to replace your boat’s carpet or flooring and how that project fits into broader deck and upholstery maintenance. In marine terms, carpet usually means glued-down polypropylene or olefin marine carpet designed to resist mildew and UV damage. Flooring can also refer to vinyl sheet flooring, woven vinyl, EVA foam decking, snap-in carpet, or coated deck systems. Deck maintenance covers the structural substrate, fasteners, hatches, drains, sealants, and moisture control. Upholstery maintenance includes seat vinyl, foam, stitching, hinges, backing boards, and storage compartments, all of which interact with deck condition because water migration rarely stays in one place.
This topic matters because neglected flooring often signals deeper maintenance issues. I have pulled up carpet that looked merely stained and found soaked plywood around pedestal bases, corroded staples at hatch lids, and unsealed screw penetrations feeding rot from above. Conversely, I have seen owners spend heavily on new seats while leaving cracked caulk, blocked drains, and damp carpet untouched, only to face repeat problems within a season. Treating deck and upholstery maintenance as one system helps you repair causes, not just symptoms. If you want a reliable, clean, and safer boat, replacing the floor covering correctly is the point where cosmetic work and structural maintenance meet.
Inspect the deck before choosing carpet or flooring
Before ordering material, inspect the entire deck like a surveyor. Remove loose gear, open every hatch, and probe suspicious areas with hand pressure around consoles, seat bases, livewells, and transom access points. Softness underfoot, blackened plywood edges, loose fasteners, or a musty odor are warning signs. Use a moisture meter if you have one, but also trust physical evidence: swollen screw holes, delaminated hatch lids, and rust trails around hardware usually mean water intrusion. On aluminum boats, check for corrosion where wet carpet stayed against bare metal for long periods. On fiberglass boats with plywood-cored decks, inspect tabbing, limber holes, and any low spots that retain standing water.
Choosing material without this inspection is the most common mistake I see. Marine carpet remains popular because it is forgiving, quieter underfoot, and comfortable for anglers kneeling at the gunwale. Twenty-ounce and twenty-four-ounce weights are common, with heavier carpet typically feeling denser and lasting longer. Vinyl flooring, especially woven or textured marine vinyl, is easier to hose down and dries quickly, making it a strong choice for pontoons and multipurpose family boats. EVA foam offers comfort and traction but demands excellent surface prep and can shrink or discolor over time in severe sun exposure. Painted or rolled non-skid coatings work well on utility boats, though they feel more utilitarian than upholstered.
Your usage should drive the choice. A bass boat that sees wet tackle, hooks, and long days in the sun often benefits from high-quality marine carpet because it reduces glare and noise. A pontoon hauling children, pets, and coolers usually benefits from vinyl because snack spills and muddy footprints clean up faster. Saltwater boats used barefoot in hot climates may favor lighter-colored woven vinyl or foam over dark carpet, which can retain heat. If winter storage is damp or the boat sits uncovered, prioritize materials that do not hold water and pair them with drainage, ventilation, and hatch-sealing improvements.
Tools, materials, and preparation that prevent rework
A successful flooring job is won during preparation. At minimum, you need a scraper, utility knife with hooked and straight blades, oscillating multi-tool, drill and driver bits, staple remover, pliers, shop vacuum, solvent-safe rags, straightedge, tape measure, marker, roller, notched trowel if required by the adhesive, and knee pads. For larger projects, I also use a heat gun to soften stubborn glue, a contour gauge for hatch edges, and painter’s tape to label hardware by location. Marine adhesives matter. For carpet, many installers use solvent-based marine carpet adhesive or a high-strength pressure-sensitive adhesive rated for exterior marine use. For vinyl, always follow the flooring manufacturer’s adhesive recommendation rather than substituting generic indoor flooring glue.
Preparation starts with documentation. Photograph seat mounts, hatch hardware, wiring routes, pedestal bases, and trim before disassembly. Bag screws separately and label each set. If any fastener is stripped or corroded, replace it with the proper stainless grade, typically 316 in more corrosive environments. Remove furniture and hardware carefully so you do not enlarge holes in the deck. Once the old covering is up, scrape all adhesive residue and vacuum thoroughly. Surface cleanliness directly affects bond strength. On plywood, repair voids with marine epoxy filler and sand smooth. On aluminum, remove oxidation and confirm the adhesive is approved for metal substrates. On fiberglass, de-wax and abrade glossy areas where adhesive or foam must bond.
Do not skip acclimation. Flooring materials expand and contract. Bring the new carpet or vinyl to the same temperature range in which it will be installed and let it relax flat before cutting. I also dry-fit every major piece before opening adhesive. That step catches pattern errors around curved consoles and hatch lips while the job is still easy to correct. If the deck has rot, this is the moment to replace damaged substrate, seal all exposed plywood edges with epoxy or a penetrating sealer, and re-bed hardware with marine sealant. New flooring over an untreated wet deck is wasted money.
Step-by-step replacement process for carpet and marine flooring
The basic sequence is consistent across materials: strip, repair, template, cut, bond, trim, and reinstall. Start by removing the old carpet or flooring in manageable sections. Pull slowly to keep backing intact and reduce scraping time. If adhesive is tenacious, a heat gun and scraper usually work better than brute force. Inspect hatch lids separately because these often fail at the edges first. Once the deck is clean, test-fit templates using heavy paper, builder’s plastic, or the old carpet if it came off in usable pieces. Transfer those templates to the new material while accounting for pile direction on carpet and pattern alignment on vinyl.
For carpet, rough-cut oversized pieces first. Spread adhesive evenly according to the manufacturer’s open time, then lay the carpet from one side to the other while pressing out air pockets. A flooring roller helps create full contact. Wrap hatch edges cleanly and staple only where the design allows hidden mechanical fastening; exposed steel staples rust, and even stainless can telegraph through thin material. For vinyl, dry-fit carefully because seam placement and visual alignment matter more. Use the specified trowel notch, maintain the stated flash time, and roll the flooring in multiple directions. Avoid trapping adhesive ridges under thin vinyl, which can print through in warm weather.
| Material | Best Use Case | Main Advantages | Main Drawbacks |
|---|---|---|---|
| Marine carpet | Fishing boats, quieter decks, comfort underfoot | Low glare, soft feel, forgiving around hatches | Holds moisture, harder to deep clean |
| Marine vinyl | Pontoons, family boats, easy washdown | Fast cleaning, quick drying, modern appearance | Can be hotter and louder than carpet |
| Woven vinyl | Premium pontoons and cruisers | Textured look, durable, good drainage when installed properly | Higher cost, edge finishing is critical |
| EVA foam | Comfort zones, swim platforms, casting decks | Excellent traction, cushioned feel, custom aesthetics | Surface prep is demanding, long-term UV wear varies |
After bonding, trim with fresh blades only. Dull knives tear fibers and create ragged edges that collect dirt. Reopen hardware holes by probing from below where possible rather than guessing from the top. Seal penetrations before reinstalling bases, hinges, consoles, and trim so water does not enter the deck core. Then check hatch clearances, latch operation, and drain flow. I always finish by rinsing lightly and watching where water travels. If it pools at a corner after the new floor goes in, fix the drainage path now, because trapped water will shorten the life of both the covering and the deck beneath it.
How deck care and upholstery maintenance work together
This hub topic goes beyond flooring because deck and upholstery wear are linked. Water entering through seat bases, pedestal mounts, console fasteners, or cracked caulk often travels into compartments, saturates backing boards, and feeds mildew in seat foam. When you pull furniture for a flooring replacement, inspect every seat base and cushion attachment point. Look for swollen wood backing inside seat bottoms, split vinyl at stress corners, chalking from UV exposure, and brittle thread along seams. If the vinyl feels stiff and cracks when flexed, replacement is usually more durable than spot repair. Small seam failures, however, can often be restitched with UV-resistant polyester thread before they become full panel failures.
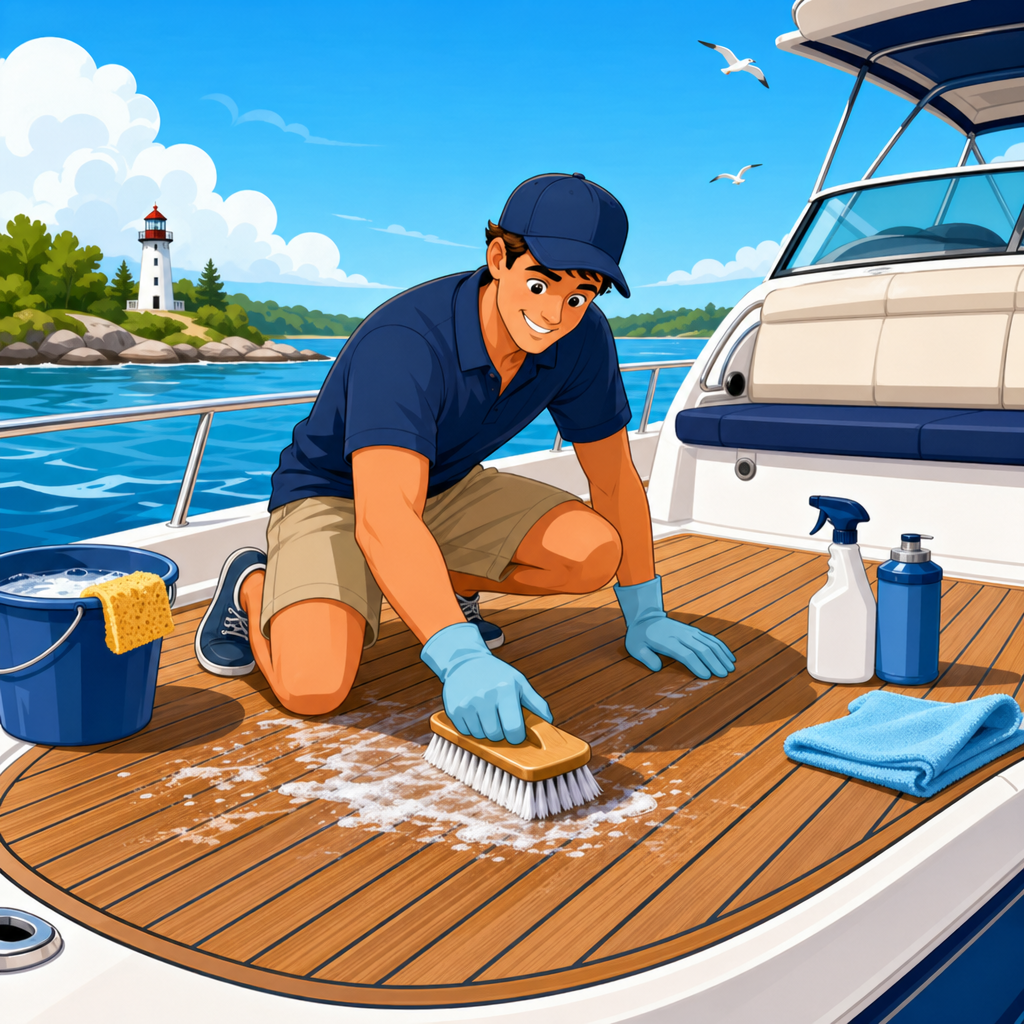
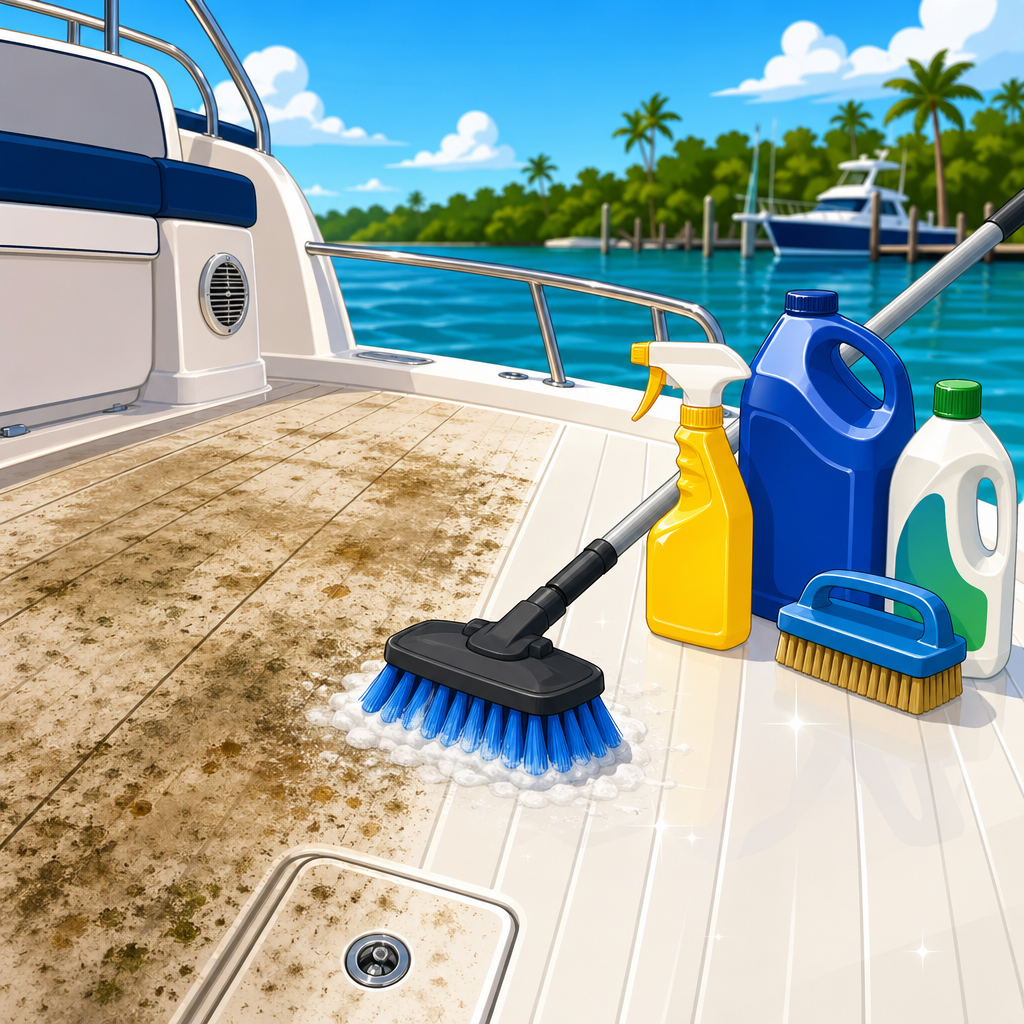
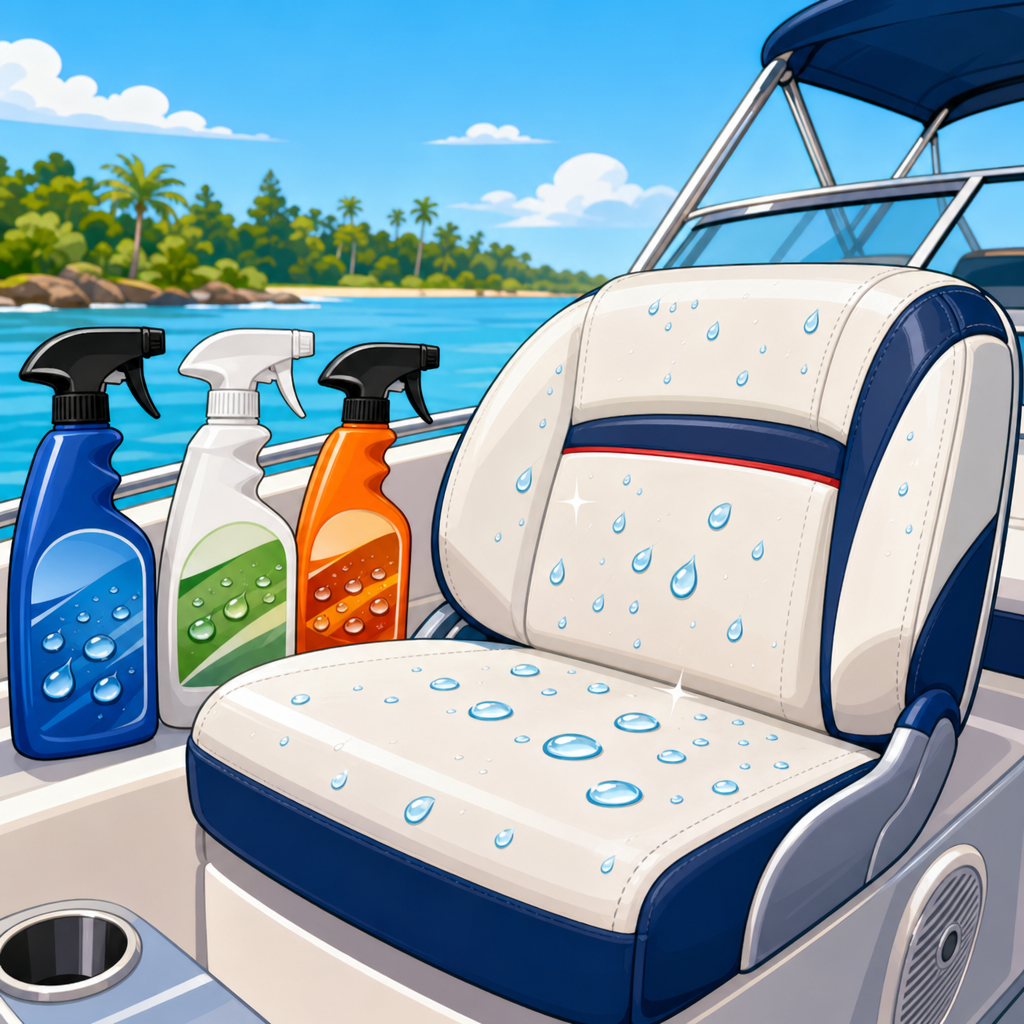
Cleaning and protection also need to match the material. Marine carpet benefits from frequent vacuuming, immediate spill treatment, and periodic extraction with cleaners labeled safe for marine use. Household carpet shampoos can leave residues that attract dirt or encourage mildew if not rinsed well. Vinyl seating and vinyl flooring should be washed with mild soap, water, and soft brushes, then protected with a marine UV protectant that does not leave the surface slippery. Avoid harsh solvents, bleach-heavy mixes, or stiff brushes on textured flooring and seat grain; they can remove finish layers and accelerate cracking.
Hardware deserves equal attention. Hinges under seat cushions, piano hinges on hatch lids, gas struts, snaps, and seat slide tracks all benefit from cleaning and corrosion control. If a hatch edge drags on new carpet, do not force it until the latch aligns; relieve the edge or adjust the hinge so the lid closes without chewing up fresh material. Check drains in storage compartments and under consoles. I often find debris, zip ties, and carpet fibers blocking low points. Good deck and upholstery maintenance is not glamorous, but it follows a simple rule: keep water moving out, keep UV off vulnerable surfaces, and keep hardware sealed and serviceable.
Common mistakes, maintenance intervals, and when to hire a pro
The biggest DIY errors are using non-marine adhesive, installing over damp substrate, ignoring edge sealing, and failing to document disassembly. Another common mistake is choosing flooring by showroom feel rather than by climate and usage. Dark foam or dark vinyl may look sharp but become uncomfortable in direct sun. Thick carpet can hide deck irregularities, yet it also takes longer to dry after rain or washing. Cost should be evaluated over service life, not only purchase price. A cheaper material that fails in three seasons usually costs more than a better product installed once and maintained properly.
Set a maintenance schedule after installation. Monthly during the season, inspect seams, edges, hatch corners, pedestal bases, and high-traffic zones. Twice a year, remove seat cushions where practical, clear drains, tighten hardware, and refresh sealant around penetrations showing gaps or movement. At winterization, clean the deck thoroughly, dry compartments completely, and promote airflow under covers. If your boat lives outdoors, a quality support system for the cover matters because standing water above often becomes trapped moisture below. In humid climates, desiccant products or vented covers help, but they do not replace drying the boat before storage.
Hire a professional when structural deck replacement, complex upholstery fabrication, or large one-piece vinyl installations exceed your tools or experience. Curved helm platforms, intricate hatch layouts, and boats with significant rot can consume far more time than owners expect. A marine upholstery shop can also replicate pleats, embossed patterns, and foam densities that are hard to match at home. Even if you plan to do the labor yourself, consult manufacturer installation guides from suppliers such as MariDeck, Syntec, SeaDek, or 3M for adhesive compatibility and warranty requirements. Good information saves expensive do-overs.
Replacing your boat’s carpet or flooring is not just a cosmetic upgrade; it is the central project in deck and upholstery maintenance because it exposes hidden problems and resets the condition of the spaces you use most. Inspect the substrate first, choose material based on how the boat is actually used, prepare surfaces meticulously, and seal every penetration during reassembly. Then support the new installation with routine cleaning, drainage checks, UV protection, and upholstery inspections so the surrounding components age at the same pace.
If you treat this page as your hub for deck and upholstery maintenance, the path is straightforward: start with flooring, inspect seats and hardware while they are removed, correct moisture entry points, and establish a simple maintenance calendar. Done properly, one flooring project can improve safety, comfort, appearance, and long-term durability across the entire boat. Use this guide to plan the job, source the right materials, and tackle the work before small deck issues turn into major repairs.
Frequently Asked Questions
What is the best flooring material to use when replacing boat carpet?
The best material depends on how you use the boat, how much maintenance you are willing to do, and what condition the deck is in underneath the old carpet. Marine carpet is still a common choice because it is familiar, comfortable underfoot, and relatively forgiving on older decks with minor imperfections. It also tends to be a practical option for fishing boats and family runabouts where comfort and affordability matter. That said, traditional carpet can hold moisture, trap dirt, and require more upkeep over time, especially if the boat is stored outside or used frequently in wet conditions.
For owners looking for lower maintenance, marine-grade vinyl is often one of the smartest upgrades. It is easier to wash down, dries faster, resists staining, and does not absorb odors like carpet can. Woven vinyl and textured marine vinyl products also provide good traction and a more modern appearance. EVA foam flooring is another popular option, especially for pontoons and recreational boats, because it is soft, slip resistant, and available in custom patterns. However, foam products vary widely in quality, so it is important to choose a marine-rated product with UV resistance and strong adhesive performance.
Whatever material you choose, the key is making sure it is designed specifically for marine use. Household carpet, indoor-outdoor flooring, and general-purpose adhesives usually fail in a boat environment because of moisture, temperature swings, and sun exposure. In most restorations, the right answer is not just what looks best, but what works with your deck condition, climate, storage setup, and intended use. If you want a classic feel, marine carpet is fine. If you want easier cleanup and moisture resistance, vinyl is often the better long-term investment.
How do I know if the deck under the old carpet needs repair before installing new flooring?
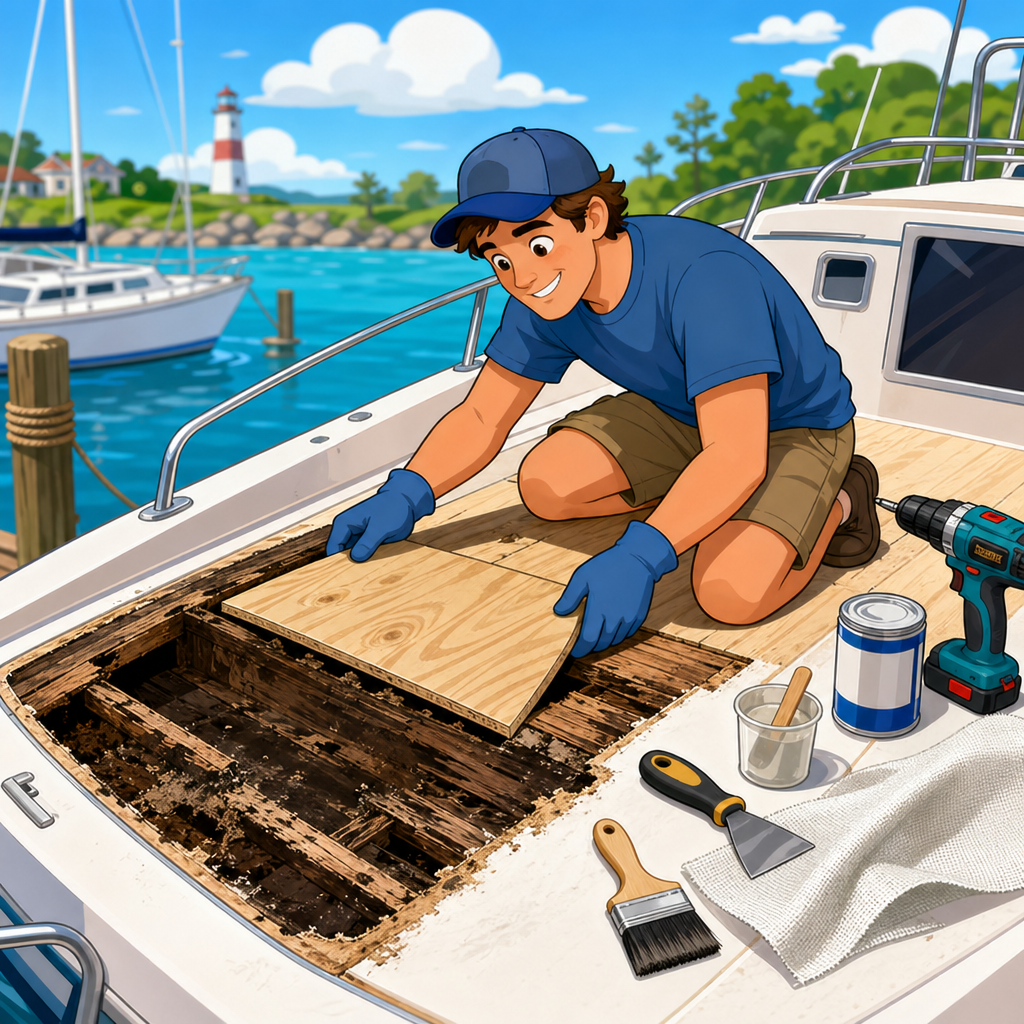
This is one of the most important parts of the project, and it is where many DIY boat owners either save themselves major trouble or accidentally cover up bigger structural issues. Once the old carpet is removed, inspect the deck carefully for soft spots, discoloration, delamination, swelling, dark staining, or screw holes that have allowed water intrusion. Walk the deck slowly and press on suspicious areas. If the plywood flexes, feels spongy, or crumbles around fasteners, it should be repaired or replaced before any new flooring goes down.
You should also look closely around seat bases, consoles, hatches, pedestal mounts, and any hardware that penetrates the deck. These areas commonly allow moisture into the substrate over time. In many older boats, the carpet itself has been hiding years of trapped water, mildew, and deck deterioration. If you install new flooring over damaged wood, the new surface may look great at first, but the underlying weakness will continue to worsen and can eventually create safety problems.
In a solid DIY replacement, the flooring stage should also be treated as an inspection opportunity. Remove old adhesive thoroughly enough to see the true condition of the deck. Probe questionable areas with an awl or screwdriver. Check hatch lids separately, since they often wear out faster than the main deck. If rot is limited, you may be able to replace only specific sections. If damage is widespread, a more complete deck replacement may make more sense than patching. The bottom line is simple: never use new carpet or vinyl to hide a bad deck. A clean, dry, structurally sound substrate is what makes the finished job last.
What tools and supplies do I need for a DIY boat carpet or flooring replacement?
Most boat flooring projects go much smoother when you gather everything before you start. At minimum, you will usually need a utility knife with extra blades, a floor scraper or putty knife, a pry tool, a drill or driver, measuring tape, straightedge, marker, roller for pressing adhesive, shop vacuum, rags, and solvent or adhesive remover that is safe for marine surfaces. If you are replacing damaged deck sections, add a circular saw, jigsaw, countersink bit, fasteners, and marine-grade plywood or approved deck material to the list.
Your flooring materials should include marine carpet, marine vinyl, or foam decking depending on your selection, along with the correct marine adhesive recommended by the manufacturer. That part matters more than many people realize. Different flooring types require different adhesives, spread rates, and cure conditions. You may also need seam tape, edge trim, staples in some specific applications, replacement hatch hinges, stainless fasteners, and sealant for hardware reinstallation. If you are planning a cleaner restoration, it is also smart to label and bag all removed hardware as you disassemble seats, consoles, trim pieces, and access panels.
Safety and prep supplies should not be overlooked either. Gloves, eye protection, knee pads, a respirator or mask for dust and fumes, and good ventilation are all worth having. Many restoration headaches come from rushing through removal and prep rather than the actual installation. In practice, a successful DIY flooring replacement is usually less about owning specialized tools and more about having the right removal, cleaning, measuring, and bonding supplies on hand. If the substrate is fully prepared and the flooring is cut accurately, the installation itself becomes much more manageable.
Can I install new boat flooring myself, or is this a job better left to a professional?
Many boat owners can absolutely handle this project themselves, especially if the job involves straightforward carpet replacement on a smaller fishing boat, pontoon, or runabout with accessible deck panels. If you are patient, comfortable with careful measuring and trimming, and willing to spend time on surface prep, DIY replacement can save a significant amount of money. It also gives you the benefit of inspecting the deck and hardware firsthand, which is valuable on older boats where hidden moisture damage is common.
That said, this is not a project to rush. The removal phase can be tedious, old adhesive can be stubborn, and reinstalling flooring neatly around hatches, curves, consoles, seat bases, and storage compartments takes precision. Vinyl and foam products can be especially unforgiving if alignment is off or adhesive is applied incorrectly. If your boat has widespread deck rot, complex contours, extensive hardware removal, or structural questions, a professional may be the better route. The same goes for owners who want custom-patterned flooring, heat-welded seams, or a showroom-style finish.
A good rule of thumb is to match the project to your skill level and the boat’s condition. If the deck is sound and the layout is simple, DIY is realistic for many people. If the boat needs carpentry, substrate replacement, or intricate pattern work, bringing in a marine flooring professional can prevent expensive mistakes. Either way, the quality of the outcome depends less on whether you do it yourself and more on whether the prep, materials, and installation steps are handled correctly.
How long does a boat flooring replacement take, and what mistakes should I avoid?
The timeline varies depending on the size of the boat, the material you are installing, how much hardware has to be removed, and whether you discover deck repairs once the old flooring comes up. For a small boat with a solid deck and simple layout, a focused DIY owner might complete the job over a weekend or a few days. Larger pontoons, boats with multiple hatches and compartments, or projects involving deck repair can take considerably longer. Adhesive cure time also affects scheduling, especially in humid or cool weather. In most cases, planning for more time than you think you need is the smarter approach.
The biggest mistakes usually happen before the new flooring is even installed. One common error is failing to remove old adhesive thoroughly enough, which prevents proper bonding and creates bumps or weak spots. Another is skipping deck inspection and installing over damp, soft, or damaged substrate. Poor measuring is another frequent problem, especially around hatch openings and curved edges. Many first-time installers also underestimate how important dry-fitting is. Laying out the material before adhesive goes down helps confirm orientation, pattern alignment, and cut accuracy.
Adhesive-related mistakes are especially costly. Using the wrong adhesive, applying too much or too little, ignoring open time, or working in unsuitable temperatures can all lead to bubbling, lifting, and premature failure. Reinstalling hardware without sealing penetrations is another long-term problem because it allows water back into the deck. If you want the job to last, take a methodical approach: remove everything carefully, inspect the deck, repair what needs repair, clean the surface fully, test-fit every section, follow the manufacturer’s adhesive instructions exactly, and allow full cure time before putting the boat back into service. That extra patience is usually what separates a flooring job that lasts a season from one that holds up for years.