A pre-season boat inspection is the most effective way to prevent breakdowns, protect passengers, and reduce repair costs before the first launch of the year. In practical terms, it is a structured review of your boat’s hull, propulsion, electrical, fuel, safety, and onboard systems after storage and before regular use. I treat it as the foundation of any DIY boat maintenance guide because small defects that seem harmless in the driveway can turn into expensive failures on the water. For owners building a dependable boat maintenance routine, this inspection is the central hub: it connects cleaning, fluid changes, corrosion control, trailer service, and safety checks into one repeatable process.
The reason this matters is simple. Marine equipment ages harder than comparable automotive equipment because it faces moisture, vibration, ultraviolet exposure, galvanic corrosion, and long periods of inactivity. ABYC standards, USCG carriage requirements, and engine manufacturer service schedules all point in the same direction: inspect early, document findings, and correct deficiencies before use. In my experience, the biggest pre-season problems are dead batteries, stale fuel, cracked bellows, seized trailer components, corroded terminals, dry-rotted hoses, and neglected safety gear. None are glamorous, but all are preventable. A thorough pre-season boat inspection helps you spot what to repair yourself, what to monitor, and what should go directly to a certified marine technician.
This article serves as a hub for a DIY boat maintenance guide by walking through the full inspection sequence in plain terms. It explains what to check, what normal looks like, which defects are serious, and where owners often miss critical details. If you own a fishing boat, pontoon, runabout, center console, sailboat auxiliary, or trailerable cruiser, the principles are largely the same. The exact components vary by hull type and propulsion system, but the inspection logic does not: start with structure, continue to propulsion and utilities, finish with safety and a sea-trial plan, and document everything you find.
Start with the hull, deck, and trailer
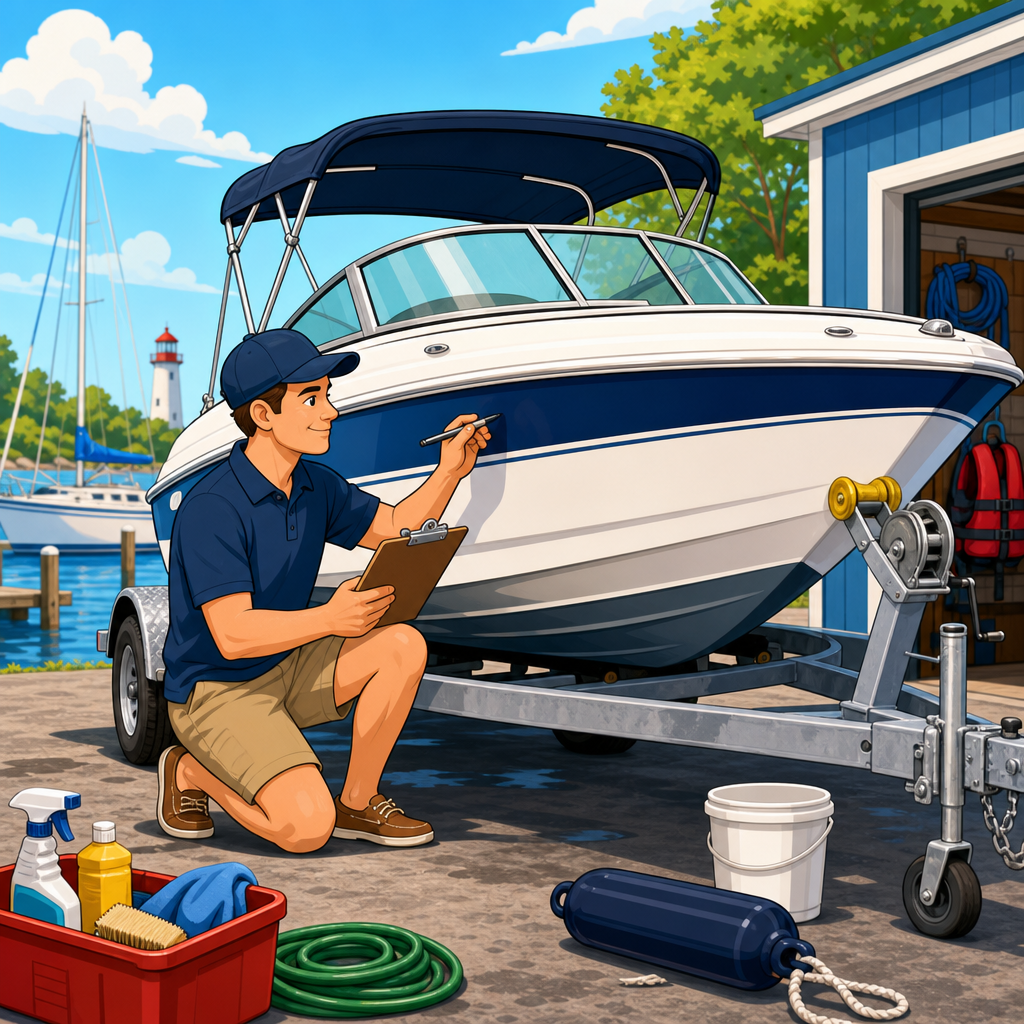
Begin outside and work from the ground up. Inspect the hull for blistering, impact damage, gelcoat cracks, loose fittings, and missing sealant around through-hulls, transducers, trim tabs, rails, and cleats. Cosmetic crazing around stress points is common on older fiberglass boats, but long cracks radiating from hardware or transom corners deserve closer attention because they may indicate movement beneath the laminate. On aluminum boats, look for corrosion pitting, loose rivets, and cracked welds. On wooden components, probe for softness around fasteners and deck penetrations. A moisture meter can help on fiberglass cored structures, but even without one, staining, swelling, and spongy feel are warning signs.
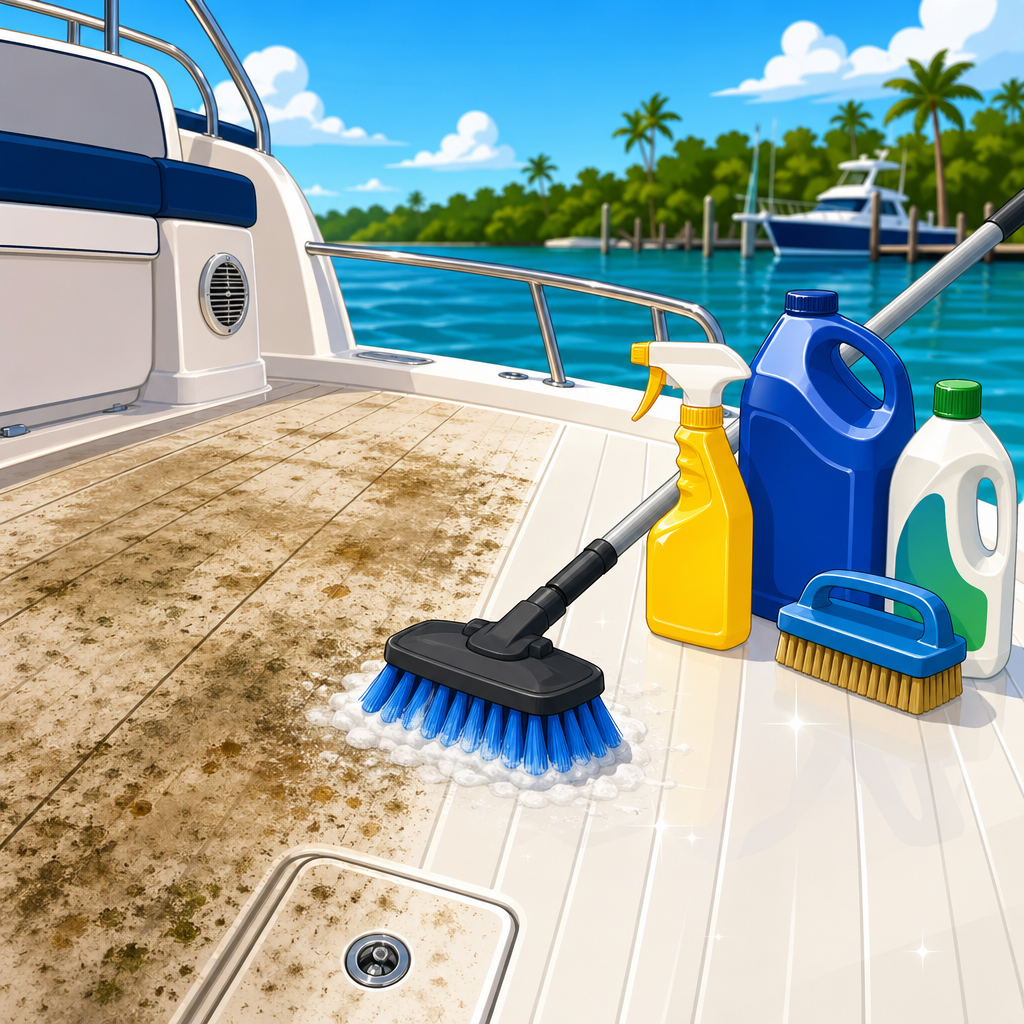
Move to the deck and bilge. Walk every section and note any soft spots, loose pedestal seats, weak hatches, failing latches, or leaking inspection ports. Open the bilge and inspect for oil residue, fuel smell, standing water, loose hose clamps, deteriorated pump hoses, and corroded float switch wiring. A clean bilge is diagnostic; a dirty bilge hides leaks. I advise owners to wash and dry the bilge before inspection because new drips become obvious afterward. Check drain plugs, scuppers, and livewell drains for cracking or obstruction. Any hose below the waterline should be marine-rated and double-clamped where appropriate.
The trailer deserves equal attention because many first trips end on the roadside, not the ramp. Examine tires for age cracking, uneven wear, and proper load rating. Replace any tire older than about six years based on the DOT date code, even if tread looks acceptable. Inspect wheel bearings, grease seals, brake lines, surge couplers or electric brake actuators, bunks, rollers, winch strap, safety chains, lights, and connectors. Spin each wheel and listen for grinding. If the hubs run hot after a short tow, service bearings immediately. Trailer maintenance is part of boat maintenance because a perfectly prepared boat is useless if the trailer fails first.
Inspect the engine, drive system, and fuel delivery
Engine checks vary by outboard, sterndrive, or inboard configuration, but the core questions are the same: does the engine have clean fuel, correct lubrication, cooling integrity, and unrestricted air and exhaust flow? Start with the engine exterior. Look for corrosion, paint bubbling, salt deposits, loose fasteners, damaged wiring insulation, and fluid residue. Check the engine oil level and condition on four-stroke outboards, sterndrives, and inboards. Milky oil can indicate water intrusion; black oil is normal after use but still due for change if service intervals are reached. Two-stroke owners should inspect the oil tank, lines, and injection system for leaks and brittleness.
For sterndrives, inspect the drive bellows carefully. A cracked U-joint, shift, or exhaust bellow can admit water and destroy gimbal bearings or universal joints. Gear lube should be checked for level and contamination; a gray or milky appearance suggests water intrusion through seals. Propellers should be removed annually so fishing line behind the prop can be cleared before it cuts the prop-shaft seal. On outboards, inspect the lower unit for skeg damage, gearcase leaks, and smooth shifting. On inboards, check shaft alignment history, stuffing box or shaft seal condition, and engine mounts.
Fuel systems are one of the most common spring trouble spots. Gasoline degrades over storage, especially if ethanol-blended fuel absorbed moisture. If fuel was not stabilized before layup, assess whether it should be diluted or replaced. Replace the water-separating fuel filter, inspect primer bulbs for firmness and cracking, and check all hoses for USCG-approved markings and date codes. Squeeze the bulb and look for seepage at fittings. Open the engine compartment and use your nose: a persistent gasoline odor is a stop-work condition until the source is found. For diesel boats, inspect the primary filter bowl for water, verify tank vent condition, and carry spare filter elements because stirred-up tank sediment often clogs filters on the first rough run.
| Inspection area | What to check | Common problem | Action |
|---|---|---|---|
| Battery system | Voltage, terminal corrosion, charger output | Low charge after storage | Load-test and clean connections |
| Fuel system | Hoses, filter, primer bulb, odor | Stale fuel or leaks | Replace filter and repair leaks |
| Cooling system | Impeller age, telltale, hose condition | Overheating on first launch | Service impeller and inspect hoses |
| Propulsion | Prop damage, shaft seal, gear lube | Vibration or water intrusion | Remove prop and inspect seals |
| Safety gear | PFDs, flares, extinguisher date | Expired or missing equipment | Replace before launch |
Check batteries, wiring, and electronics methodically
Electrical faults multiply during storage because moisture and inactivity accelerate corrosion. Start at the battery bank. Fully charge each battery, let it rest, then measure voltage and, ideally, perform a load test. A resting 12-volt lead-acid battery around 12.6 to 12.7 volts is generally healthy; significantly lower readings after charging suggest sulfation or age-related decline. Clean terminals with the correct brush, coat them lightly with dielectric protection where appropriate, and confirm hold-downs are secure. A battery that can slide in rough water is a safety issue, not just a maintenance issue.
Trace the main cables to switches, fuse blocks, and busbars. Marine wiring should be supported, protected from chafe, and terminated with corrosion-resistant connectors. Green powder, blackened copper, household wire nuts, and untinned speaker wire are all red flags. Test navigation lights, anchor light, horn, bilge pump, livewell pump, washdown pump, blower, wipers, trim tabs, and gauges individually. If something is intermittent, suspect ground connections first. On many older boats, owners replace components when the real problem is voltage drop caused by corroded connectors or undersized conductors. A simple multimeter and wiring diagram solve many “mystery” faults faster than guesswork.
Electronics should also be updated before launch. Confirm the chartplotter boots quickly, software is current, maps are relevant to your cruising area, and transducers read depth accurately. Test VHF radio transmit and receive functions, verify the MMSI is programmed correctly for DSC use, and inspect the antenna mount and coaxial connector. If you rely on a trolling motor or lithium house bank, follow the battery manufacturer’s storage recovery procedure precisely. Lithium systems often require checking battery management system status, charger compatibility, and low-temperature charging limits, which differ substantially from flooded or AGM batteries.
Service cooling, steering, plumbing, and control systems
Cooling system neglect causes a large share of first-run engine failures. If the water pump impeller is due by time or hours, replace it before launch rather than gambling on “one more season.” Rubber impellers take a compression set during storage and can shed vanes without warning. Inspect thermostat housings, cooling hoses, hose clamps, sea strainers, and raw-water pump seals. During a hose test or tank run, confirm a strong telltale on outboards and verify stable operating temperature on engines with gauges. An engine that overheats briefly on land will overheat worse under load.
Steering should feel smooth and predictable. Mechanical cable steering that feels stiff may be corroding internally; hydraulic steering should be checked for fluid level, leaks at rams and helm pumps, and air in the system. Turn lock to lock and watch for hesitation, binding, or uneven response. Remote controls and shift linkages should move cleanly, return positively, and engage gear without excessive force. On sterndrives, trim and trailer functions should operate without jerking. Lubricate points specified by the manufacturer, but avoid random greasing because some modern components are sealed and over-greasing can damage them.
Plumbing is often overlooked until the first weekend trip. Test freshwater pumps, faucets, heads, macerators, shower sumps, livewells, baitwells, and washdown systems. Sanitize potable-water tanks if the boat has been idle for months. Inspect sanitation hoses for odor permeation and cracking, and verify Y-valves are legally secured where required. Seacocks should open and close fully; if they are frozen, service them before launch. Bronze fittings should be checked for dezincification, which appears as a pinkish color and indicates weakened metal. Any suspect through-hull fitting below the waterline is a high-priority repair.
Confirm safety equipment, paperwork, and launch readiness
Safety gear should be inspected with the same seriousness as the engine. Verify you have the required number and size of wearable life jackets, and inspect straps, buckles, and flotation condition. Check throwable devices where required. Fire extinguishers should show charged status and comply with current carriage expectations. Visual distress signals, if required in your waters, must be unexpired. Test carbon monoxide alarms in enclosed boats, replace detector batteries, and inspect engine compartment blowers before every start of a gasoline inboard or sterndrive boat. I also recommend confirming your anchor, rode, dock lines, and fenders are ready, because poor docking preparation creates preventable damage on the first day out.
Paperwork matters more than many owners expect. Confirm registration, title documentation where applicable, insurance, fishing permits, radio licensing if needed outside domestic waters, and towing-assistance membership. Keep service records in a waterproof folder or digital app. A documented maintenance history improves troubleshooting and resale value because you can show exactly when the impeller, filters, batteries, bellows, or bottom paint were last addressed. For owners using this page as a boat maintenance and repairs hub, this is the point where linked jobs naturally branch into deeper tasks such as spring commissioning, outboard service, trailer bearing replacement, marine battery care, and boat safety equipment checks.
Before the first full outing, do a controlled launch and sea trial. Start at the ramp or dock with the engine cover open if safe to do so, check for leaks, verify charging voltage, test steering and shifting, and confirm cooling water flow. On plane, note RPM versus speed, watch engine temperature, and listen for vibration. Recheck the bilge after the run. If a new issue appears, stop and diagnose it immediately. A successful pre-season boat inspection is not just a checklist exercise; it is a disciplined way to make your DIY boat maintenance guide practical, repeatable, and reliable for the entire season.
A complete pre-season boat inspection turns boat ownership from reactive repair into planned maintenance. When you inspect the hull, trailer, engine, fuel system, batteries, wiring, plumbing, controls, and safety gear in a logical order, you catch the defects most likely to ruin the season before they become emergencies. The main benefit is confidence: confidence that the boat will start, steer, cool properly, stop safely on the trailer, and meet legal safety requirements when family or guests step aboard. That confidence comes from evidence, not optimism.
The most useful habit is documentation. Create a repeatable checklist, record service dates, and note what was replaced, adjusted, or deferred. Over time, your own records become more valuable than memory because patterns emerge: which battery ages fastest, when the trailer bearings usually need service, how often the bilge pump switch sticks, and whether fuel quality changes during storage. That is the real purpose of a DIY boat maintenance guide as a hub topic: it gives every maintenance task context and sequence instead of treating repairs as isolated events.
If you are preparing for launch now, start with the highest-risk items first: fuel leaks, battery condition, cooling system service, steering function, and safety equipment. Then move through the rest of the inspection and schedule any specialized repairs before marinas and service shops hit peak-season backlog. Use this guide as your starting checklist, then build out your maintenance plan for the entire year. A few disciplined hours before the season begins can save weeks of downtime once the weather turns perfect.
Frequently Asked Questions
What should be included in a complete pre-season boat inspection?
A complete pre-season boat inspection should cover every major system that affects safety, reliability, and performance before the boat ever touches the water. Start with the hull and structure by checking for cracks, blisters, gouges, loose fittings, damaged caulking, and signs of impact around the keel, chines, transom, and swim platform. Inspect through-hull fittings, drain plugs, scuppers, and seacocks to make sure they are secure, free of corrosion, and able to open and close properly. Move on to the propulsion system by examining the propeller for dings, bends, fishing line around the shaft, and any wobble that could indicate a damaged hub or shaft issue. For outboards, look at the lower unit, skeg, mounting bolts, steering movement, and gear lube condition. For inboards and sterndrives, inspect belts, hoses, clamps, couplers, and the condition of the outdrive bellows.
The electrical system deserves equal attention because many early-season failures trace back to weak batteries, dirty terminals, poor grounds, or corroded connections. Test battery voltage, clean and tighten terminals, verify the battery switch works correctly, and check that navigation lights, bilge pumps, horn, electronics, and gauges all operate as expected. Fuel system checks are critical as well. Inspect fuel lines for stiffness, cracking, leaks, or outdated hose material, confirm primer bulbs and fittings are sound, replace suspect clamps, and look closely at the fuel tank area for odors, stains, or seepage. Also inspect the engine compartment for oil leaks, coolant issues where applicable, loose wires, and deteriorated insulation. Finally, review all safety gear, including life jackets, fire extinguishers, visual distress signals, carbon monoxide detectors, first aid supplies, anchor gear, dock lines, and throwable flotation devices. A strong pre-season inspection is not just a quick glance; it is a methodical review designed to catch minor issues before they become breakdowns, safety hazards, or expensive repair bills.
Why is a pre-season boat inspection so important before the first launch?
A pre-season boat inspection is important because storage conditions, inactivity, temperature swings, moisture, and normal aging can quietly damage systems even when a boat looked perfectly fine when it was winterized. Rubber parts dry out, clamps loosen, batteries discharge, rodents chew wiring, seals shrink, and corrosion continues working while the boat sits. The first launch of the year often puts every system under immediate demand, and that is exactly when hidden defects show up. A cracked fuel hose that seemed insignificant on land can become a serious leak once pressure builds. A weak battery may still power lights in the driveway but fail to crank the engine at the ramp. A neglected bilge pump may not reveal a problem until water starts accumulating where it should not. Catching those issues early is far easier and far cheaper than responding to them on the water.
It is also one of the best ways to protect passengers and avoid unnecessary stress. Mechanical failures are inconvenient, but some failures create real danger. Steering problems, fuel leaks, dead batteries, inoperative navigation lights, or expired safety equipment can turn a simple outing into an emergency. Beyond safety, a structured inspection helps preserve the value of the boat by identifying wear before it spreads into surrounding systems. Replacing a hose, clamp, fuse, impeller, or battery cable in the driveway is routine maintenance. Ignoring those items can lead to overheating, engine damage, electrical failure, tow bills, lost weekends, and major repairs later. In practical terms, a pre-season inspection is the foundation of responsible boat ownership because it reduces surprises, improves confidence at launch, and sets the tone for a safer, more reliable boating season.
How do I inspect the engine, fuel system, and propeller before boating season starts?
Begin with a visual engine inspection while the boat is still on the trailer or in storage. Look for signs of fluid leaks, corrosion, frayed wiring, loose fasteners, cracked hoses, and deteriorated belts. Check oil level and condition, and if the oil is old, milky, contaminated, or overdue for service, change it before launch. If your engine uses coolant, inspect reservoir level and look for leaks around hoses, fittings, and the heat exchanger. Examine hose clamps for rust or looseness and squeeze hoses to feel for brittleness, cracking, or soft spots. If the engine has a raw-water system, inspect the water pump impeller according to the service schedule, because impellers can stiffen or crack during storage. For sterndrives and outboards, inspect lower unit gear lube for contamination and confirm there are no leaks around seals. Then test basic engine operation with proper water supply and ventilation, listening for unusual noises, rough idle, weak water flow, warning alarms, or starting hesitation.
The fuel system should be inspected carefully because fuel leaks create both reliability and fire risks. Check every fuel hose from tank to engine, looking for cracking, swelling, abrasion, stiffness, or dampness. Pay special attention to hose ends, primer bulbs, fittings, anti-siphon valves, fuel-water separators, and filter housings. If anything smells strongly of gasoline or shows signs of seepage, stop and repair it before use. Replace old or questionable hoses with marine-rated fuel line and use proper clamps. Drain or replace the fuel-water separator if needed, and evaluate the condition of the fuel itself if the boat sat for a long period. Stale fuel can lead to hard starting, poor performance, and injector or carburetor problems. Finally, inspect the propeller thoroughly. Remove it if possible to check for fishing line wrapped behind the hub, which can damage seals. Look for bent blades, chips, cracks, excessive nicks, or uneven wear. Spin it to detect wobble, inspect the shaft and hardware, and apply the correct marine grease before reinstalling. This process helps prevent vibration, seal damage, and loss of efficiency once the season begins.
What electrical and safety equipment should I check during a pre-season boat inspection?
Electrical checks should start with the battery because it supports engine starting, pumps, lights, and electronics. Test battery voltage and charging condition, inspect the case for swelling or cracks, and verify that hold-downs are secure. Clean corrosion from terminals, tighten cable connections, and inspect cables for stiffness, broken strands, or worn insulation. Confirm battery switches function correctly and check fuses, breakers, and fuse panels for corrosion or overheating. Then test every electrical circuit you rely on: navigation lights, anchor light, bilge pump, blower, horn, VHF radio, GPS or chartplotter, depth finder, cabin lights, livewell pumps, freshwater pumps, trim tabs, and gauge illumination. Do not assume a device works because it powered up last season. Electrical problems often appear after storage due to moisture intrusion, vibration, or oxidized connections, so each component should be tested individually.
Safety equipment checks are just as important as mechanical ones because regulations and real-world emergencies both depend on them. Count the life jackets and make sure you have the right number, proper sizes, and serviceable condition with intact buckles, straps, and flotation material. Inspect the throwable flotation device if your boat requires one. Check fire extinguishers for charge status, age, accessibility, and mounting security. Review visual distress signals for expiration dates, and make sure signaling devices are stored where they can be reached quickly. Test carbon monoxide and smoke detectors where applicable, especially on boats with enclosed cabins or generator systems. Confirm the bilge pump operates automatically and manually, and inspect float switches and discharge hoses. Verify the anchor, chain, and rode are in good shape, and inspect dock lines, fenders, first aid kit contents, sound-producing devices, and emergency communication gear. A well-prepared boat is not just mechanically sound; it is equipped so that if something goes wrong, you can respond immediately and effectively.
Can I do a pre-season boat inspection myself, or should I hire a marine professional?
Many boat owners can perform a thorough pre-season inspection themselves, especially if they are comfortable with basic maintenance and follow a detailed checklist. DIY inspection is practical for tasks such as examining the hull, checking hoses and clamps, testing lights and pumps, inspecting safety gear, cleaning battery terminals, evaluating the propeller, and looking for obvious leaks or corrosion. In fact, owners often have an advantage because they know the boat’s history, past repairs, recurring issues, and how the systems normally sound and feel. A careful owner can catch a surprising number of problems before launch simply by moving slowly, opening every compartment, testing every switch, and refusing to ignore small warning signs. For annual routine preparation, this hands-on approach is one of the best ways to build familiarity with the boat and reduce maintenance costs over time.
That said, there are times when a marine professional is the better choice. If you find signs of fuel leakage, electrical overheating, soft spots in the deck, significant corrosion, steering stiffness, transom or stringer concerns, engine warning alarms, lower unit contamination, or structural damage to the hull, professional diagnosis is the smart move. The same is true if the boat has been stored improperly, sat unused for an extended period, suffered freeze damage, or has complicated systems such as inboard cooling circuits, generators, advanced electronics, or multiple batteries with charging management equipment. A good approach for many owners is a hybrid one: do