Saltwater is one of the harshest environments a boat can face, and keeping your boat rust-free in saltwater conditions requires a disciplined maintenance system, not occasional cleanup. Rust is the visible result of corrosion, an electrochemical reaction that accelerates when steel, iron, salt, oxygen, and moisture combine. On boats, the problem extends beyond obvious orange spots on trailers, fasteners, and fittings. Corrosion can also affect stainless hardware, aluminum components, electrical systems, steering parts, and hidden structural areas that stay damp for long periods.
In practical terms, rust prevention is about controlling exposure, interrupting corrosion cells, and catching failures early. After years of maintaining offshore fishing boats, center consoles, sailboats, and trailer-kept runabouts, I have found that owners who treat corrosion prevention as a weekly routine spend far less on repairs and keep resale value higher. This hub article covers the full scope of preventative maintenance and longevity tips for saltwater use, from rinsing and coatings to anodes, bilge management, electrical protection, and storage planning. If you want your boat to last, this is the maintenance foundation that matters most.
Saltwater corrosion matters because it compounds quietly. A neglected hose clamp can fail and sink a boat at the dock. A corroded ground connection can disable pumps or electronics when you need them most. A seized steering cable, frozen trailer brake hardware, or rusted bunk bracket often starts as minor surface neglect. Preventing these problems is not complicated, but it does require consistency, the right products, and an understanding of where corrosion starts first. The goal is simple: keep salt off the boat, keep water from standing, isolate dissimilar metals, and inspect every vulnerable point on a schedule.
For boat owners searching for preventative maintenance and longevity tips, the core questions are usually the same. What should be rinsed after every trip? Which metal parts need protection? How often should sacrificial anodes be changed? Is stainless steel really rust-proof? What products actually work in a marine environment? The answers depend on boat type, hardware, usage frequency, and whether the boat lives in the water, on a lift, or on a trailer. Still, the principles are universal. Corrosion prevention starts immediately after use, continues through scheduled inspections, and works best when each system is maintained before visible damage appears.
Understand Where Rust and Corrosion Start
The first step in keeping a boat rust-free in saltwater conditions is knowing what you are protecting. Mild steel rusts quickly when salt residue stays wet. Stainless steel resists rust because chromium forms a passive oxide layer, but stainless is not immune. In low-oxygen, chloride-rich crevices such as under washers, around screws, and inside rail bases, even 304 or 316 stainless can develop tea staining, pitting, or crevice corrosion. Aluminum does not rust in the red-orange sense, but it corrodes, especially when in contact with stainless fasteners, copper-based anti-seize, or damaged coatings. Bronze, brass, and galvanized parts each have their own failure patterns.
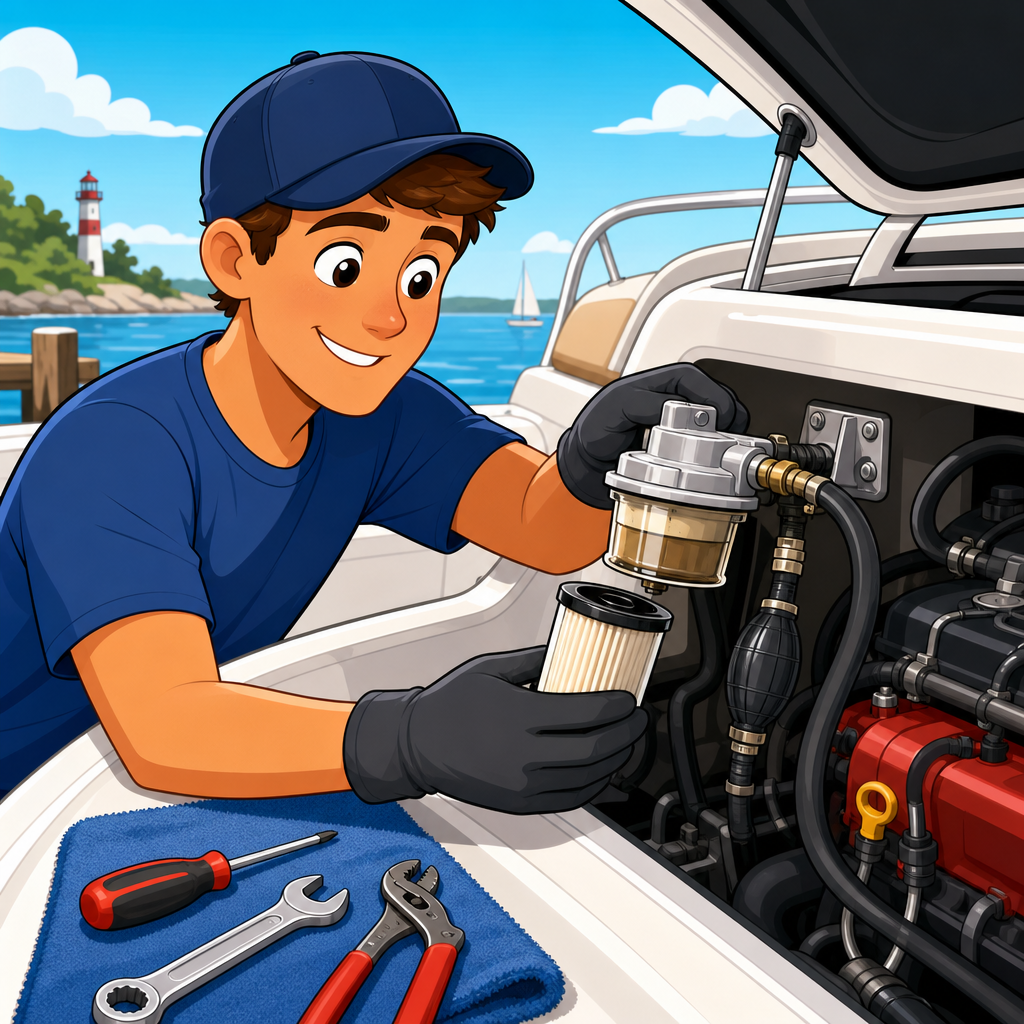
On most saltwater boats, the highest-risk areas are not always obvious at first glance. Trailer frames, leaf springs, axles, U-bolts, winch posts, brake calipers, couplers, and light brackets are constant corrosion points. On the boat itself, check hose clamps, battery terminals, T-top fasteners, leaning-post bases, through-bolts under gunwales, trim tab hardware, steering components, raw-water washdown pumps, and any exposed screw head where water pools. The bilge deserves special attention because trapped saltwater and poor ventilation create a perfect environment for corrosion on pumps, float switches, wiring, and fuel system hardware.
Galvanic corrosion is another major issue in saltwater. It occurs when dissimilar metals are electrically connected in an electrolyte such as seawater. A common example is a stainless fastener threaded into aluminum. If the joint stays wet and lacks proper isolation, the aluminum becomes the more active metal and corrodes first. Stray current corrosion is even more destructive and usually comes from wiring faults, poor grounds, or shore-power issues. I have seen lower units and underwater fittings damaged in months by electrical leakage that looked like ordinary corrosion until tested with a meter.
Because different corrosion mechanisms produce similar symptoms, inspection should be deliberate. Surface rust, bubbling paint, white powder on aluminum, green deposits on copper alloys, blackened terminals, swollen wire insulation, and seized threads all signal a problem. Once pitting starts on critical load-bearing or sealing surfaces, replacement is often safer than restoration. That is why prevention matters more than cosmetic cleanup. If you build a maintenance plan around known failure points, you reduce expensive surprises and keep the boat dependable during the season.
Build a Post-Trip Rinse and Drying Routine
The single most effective habit for saltwater boat maintenance is a thorough freshwater rinse after every trip. Salt crystals attract moisture from the air and keep surfaces damp long after a boat appears dry. A quick spray-down helps, but a systematic rinse is better. Start from the highest points and work down: hardtops, rails, rod holders, upholstery hardware, windshield frames, cleats, hinges, latches, and deck fittings. Open lockers, fish boxes, and hatches so salt residue is not trapped inside seals and hinges. Flush anchor gear, trailer couplers, jack wheels, and safety chains as well.
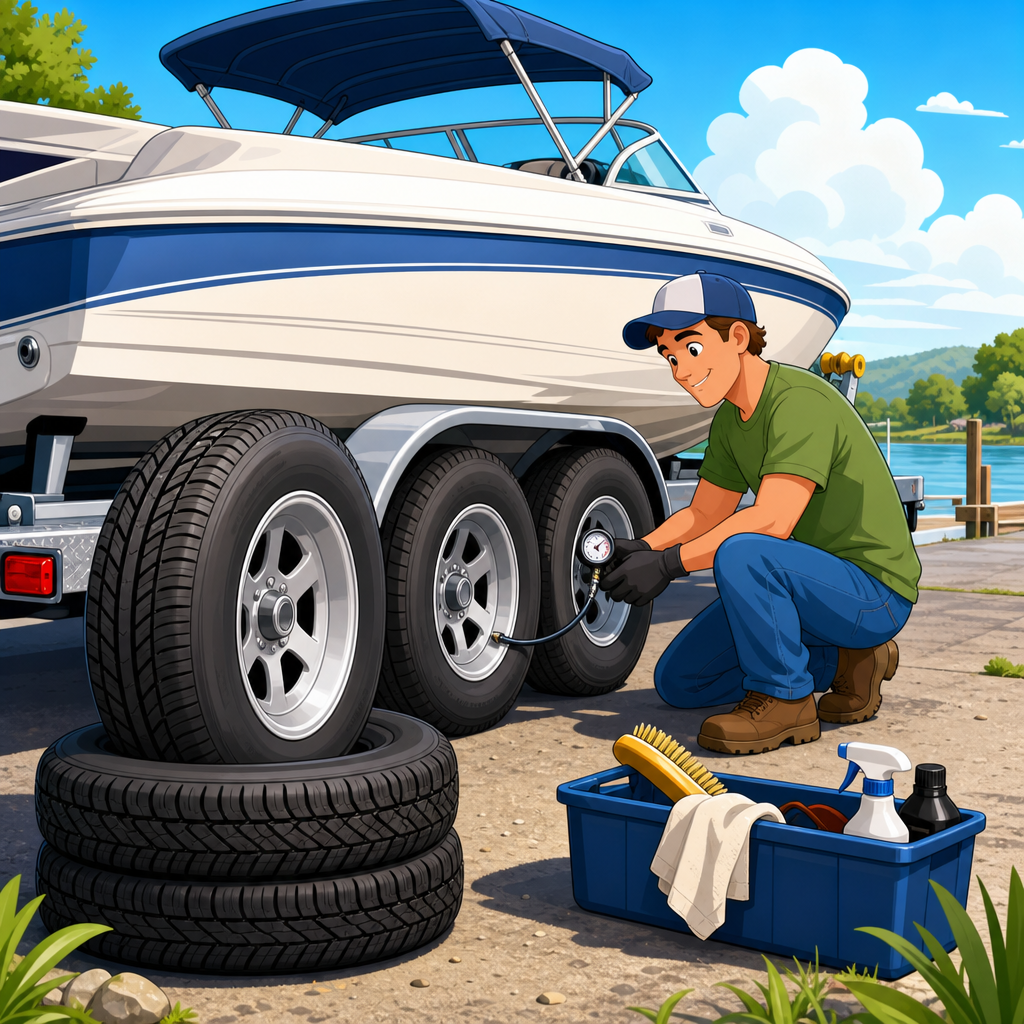
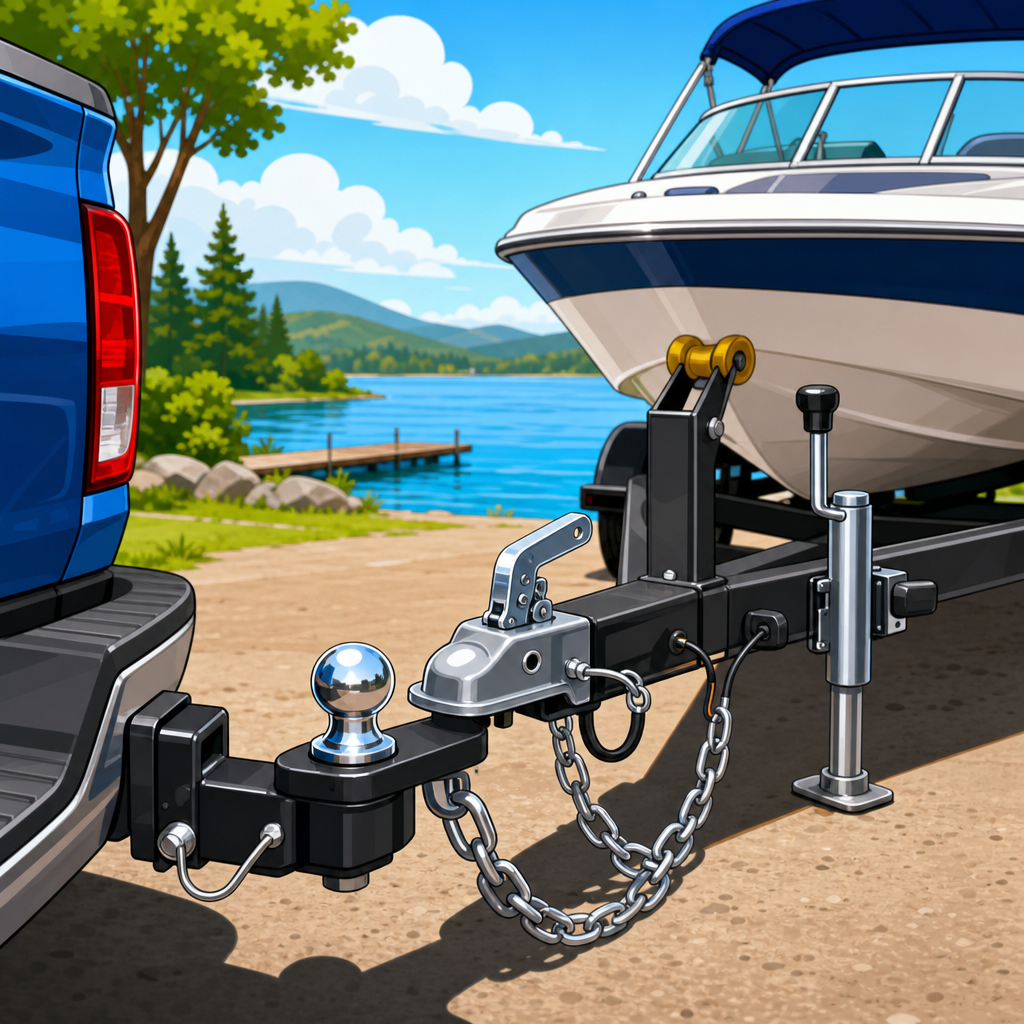
Engines and trailers need separate attention. Outboards should be flushed according to the manufacturer’s procedure using earmuffs or a proper flushing port, and the exterior should be rinsed without forcing water into electrical connectors or air intakes. Trailers should be rinsed thoroughly around brakes, hubs, springs, bunk hardware, and crossmembers. If your launch ramp allows only a quick rinse, do a deeper wash at home the same day. The difference between a lightly rinsed trailer and a fully washed one becomes obvious within a season, especially in brake life and fastener condition.
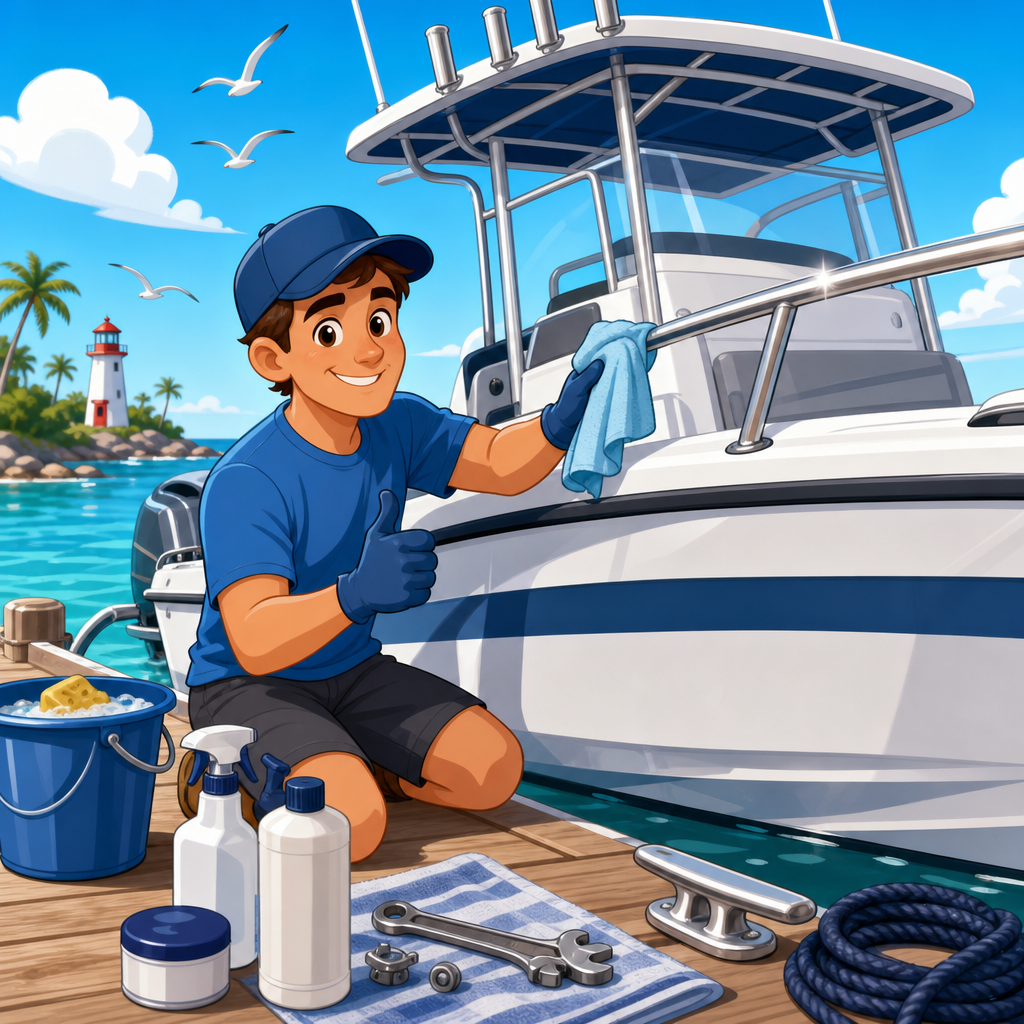
Drying matters almost as much as rinsing. Use microfiber towels or a blower to remove standing water from hardware bases, cup holders, hinges, and rail mounts where salt concentrates. In humid climates, trapped moisture under covers can worsen corrosion, so ventilation is essential. I recommend leaving compartments cracked open until fully dry, then closing them once the boat is aired out. For console boats and center consoles, remove gear bags, life jackets, and dock lines that hold moisture against surfaces. A dry boat corrodes far more slowly than a damp one, even if both were rinsed.
Soap and specialty wash products can improve results when used correctly. A pH-neutral marine boat soap helps remove salt film, fish residue, sunscreen, and soot without stripping wax. Salt-removal products such as Salt-Away or similar additives can be useful on engines, trailers, and heavily exposed hardware, though they are not substitutes for physical rinsing and brushing. Avoid harsh household cleaners, chlorine bleach, and strong acids on marine metalwork unless the manufacturer specifies them, because they can damage protective finishes and accelerate the very corrosion you are trying to prevent.
Protect Metal Surfaces, Fasteners, and Fittings
Once the boat is clean and dry, surface protection becomes your second line of defense. Marine waxes and polymer sealants protect gelcoat and painted surfaces by reducing salt adhesion and making rinsing easier. Metal-specific protectants are just as important. Corrosion inhibitors such as Boeshield T-9, CRC Heavy Duty Corrosion Inhibitor, CorrosionX, and Fluid Film are commonly used on hinges, steering linkages, trailer hardware, battery terminals, and exposed fasteners. The right product depends on the surface. Thin-film inhibitors creep into seams well, while waxier coatings last longer on exposed trailer parts.
Fastener management deserves more attention than many owners give it. If you remove hardware during upgrades or repairs, re-bed fittings properly and use an anti-corrosion compound suited to the metals involved. Tef-Gel, Duralac, and similar products help isolate stainless fasteners from aluminum structures. On trailer bolts and non-structural threaded parts, a marine-grade anti-seize can prevent galling and seizure, but use it carefully and avoid contaminating friction-critical assemblies. If a fastener shows deep rust, thread loss, or pitting near the shank, replace it rather than cleaning and reinstalling it.
Stainless hardware should be cleaned periodically, not just when rust appears. Tea staining on stainless rails or screws often responds to dedicated stainless cleaners and gentle non-abrasive pads. However, if staining returns quickly, investigate drainage, trapped salt, or poor alloy selection. In my experience, inexpensive imported hardware marked as stainless often performs worse than properly sourced 316 marine-grade components. Upgrading vulnerable fittings once can save repeated replacement cycles, especially on bow rails, hinges, latches, and washdown systems that see constant spray.
Painted and galvanized components need different treatment. Galvanized trailer parts rely on their zinc layer, so aggressive wire-brushing can shorten life if it removes intact coating. Painted steel should be touched up promptly when chips expose bare metal. For small rust spots, remove loose corrosion, neutralize if appropriate, prime with a marine-compatible rust-inhibiting primer, and topcoat before the damage spreads. Waiting until rust blooms through seams or welds usually turns a simple repair into part replacement.
Use Anodes, Electrical Protection, and Bilge Care Correctly
Sacrificial anodes are essential for boats in saltwater because they corrode in place of more valuable underwater metals. Zinc has long been common in saltwater, while aluminum alloy anodes are now widely favored because they perform well across a broad range of salinity and often last longer. Magnesium is typically reserved for freshwater. The key is matching the anode material to the environment and replacing anodes when about half consumed. Painting over anodes, installing the wrong alloy, or leaving a heavily wasted anode in service defeats their purpose.
Electrical protection is equally important. Marine wiring should use tinned copper conductors, adhesive-lined heat-shrink terminals, and proper support to prevent chafe and water intrusion. Battery terminals should be clean, tight, and protected with dielectric grease or terminal spray where appropriate. Corroded grounds can create voltage drop, unreliable electronics, and pump failures. If your boat stays in a marina, inspect shore-power connections carefully and use an ELCI-protected system where required by current standards. ABYC guidelines exist for a reason: poor marine wiring can destroy equipment and create serious safety hazards.
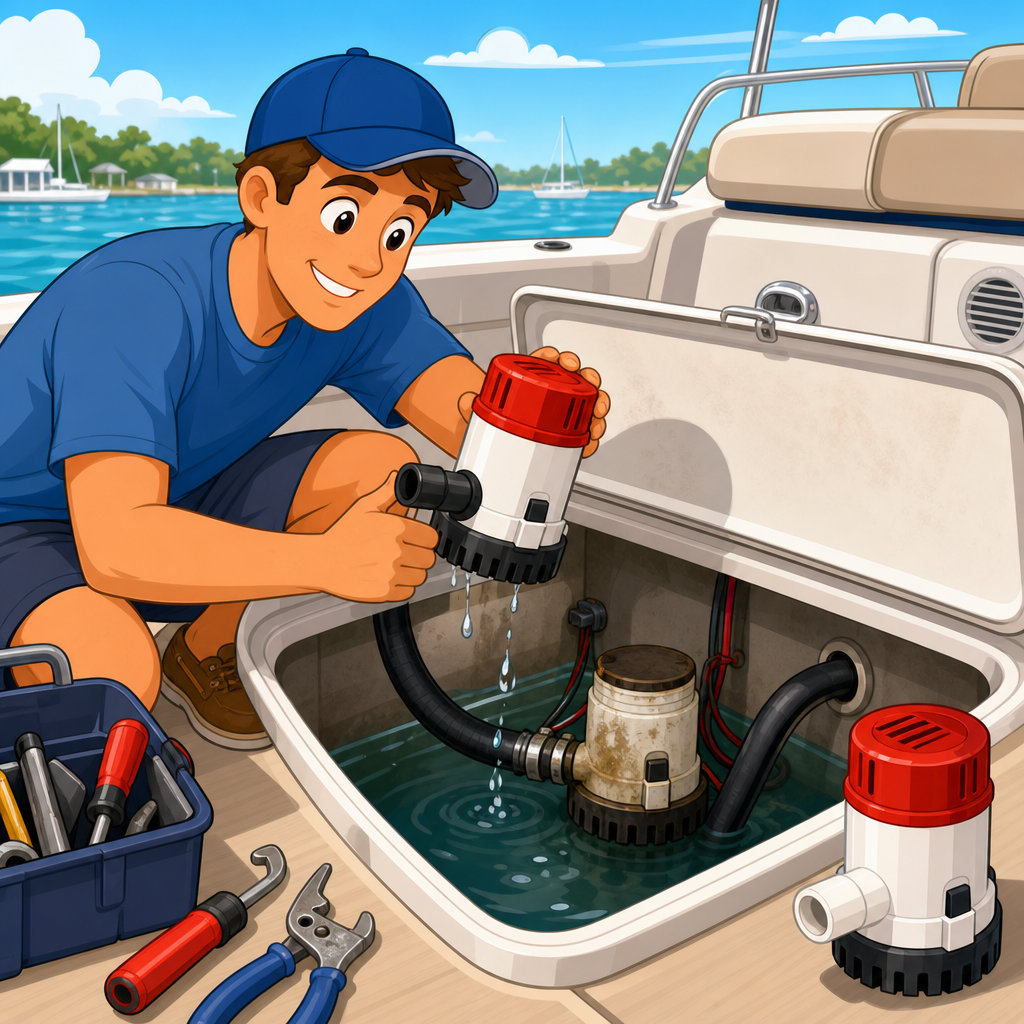
The bilge is the hidden engine room of corrosion. Even small amounts of standing saltwater attack pump shafts, hose clamps, aluminum fuel tank surfaces, and electrical splices. Keep limber holes clear, test bilge pumps regularly, and investigate any water accumulation instead of assuming it is normal. A clean bilge also makes leak detection easier. Oil, fish scales, leaves, and debris trap moisture and block drainage. I advise owners to wipe down the bilge, rinse only when necessary, and let it dry completely before closing up. Clean, dry bilges significantly slow corrosion.
| Area | What to Check | Recommended Frequency | Main Risk if Ignored |
|---|---|---|---|
| Anodes | Loss of material, poor contact, wrong alloy | Monthly in season | Underwater metal corrosion |
| Battery terminals | Corrosion, loose connections, heat discoloration | Monthly | Electrical failure, voltage drop |
| Bilge | Standing water, debris, pump function, hose clamps | After each trip and monthly deep check | Pump failure, hidden rust, odor, leaks |
| Trailer brakes and springs | Rust scale, seized hardware, worn coating | After each saltwater launch and monthly | Brake failure, structural damage |
Bonding systems also deserve inspection. On boats designed with bonded underwater metals, continuity matters. A disconnected bonding wire can leave one component unprotected, while a damaged connection can mislead troubleshooting. If you suspect galvanic or stray current corrosion, do not guess. Use a qualified marine electrician with a silver/silver chloride reference electrode and proper test procedures. Accurate diagnosis prevents replacing parts while the underlying electrical fault continues unchecked.
Plan Seasonal Inspections, Storage, and Smart Replacements
Long-term rust prevention depends on scheduled inspections, not just post-trip care. At least monthly during the season, inspect every accessible metal component with a flashlight and a screwdriver or pick for probing suspicious scale. Look under removable panels, inside the console, behind batteries, beneath trailer bunks, and at the underside of deck hardware. Seasonal haul-outs or service intervals are the right time to check steering pivots, trim tab actuators, backing plates, transom hardware, and trailer interiors where corrosion often develops unseen. Document findings with photos so you can spot progression over time.
Storage conditions can either slow corrosion or accelerate it. Boats kept on lifts avoid constant immersion but still collect salt spray, especially in windy marinas. Boats stored in the water need more frequent bottom, anode, and shore-power checks. Trailered boats should be parked where water can drain from the frame and not sit inside boxed sections. If you use a cover, choose one that breathes and is supported to prevent water pooling. Shrink-wrap without proper vents can trap humidity and leave hardware damp for months, which I have seen ruin otherwise clean fittings over winter.
Preventative replacement is often cheaper than emergency repair. Rubber-lined hose clamps, raw-water washdown fittings, trailer brake lines, bunk brackets, and cheap plated fasteners should not be run to failure in saltwater service. Replace questionable mild-steel parts with better marine-grade materials where structurally appropriate. For trailers, galvanized or aluminum construction generally outlasts painted steel in coastal use, though both require rinsing and maintenance. For deck hardware, 316 stainless usually offers better chloride resistance than 304. Material selection is a maintenance strategy, not just a purchasing decision.
Resale value follows maintenance quality closely. Buyers notice clean bilges, bright hardware, intact trailer frames, service records, and properly maintained anodes. They also notice rust trails below screws, corroded battery trays, frozen latches, and stained stainless. A boat that looks cared for usually has fewer hidden issues because corrosion control tends to reflect overall ownership discipline. If you treat this article as your hub for preventative maintenance and longevity tips, build a checklist from it and use it year-round. Rinse thoroughly, dry completely, protect metal surfaces, maintain electrical and anode systems, inspect on schedule, and replace weak parts early. Those habits keep your boat rust-free longer, reduce repair costs, and make every launch more reliable. Start with your next trip: rinse the boat properly, inspect one corrosion-prone area, and put recurring maintenance on the calendar.
Frequently Asked Questions
Why does saltwater cause boat rust and corrosion so much faster than freshwater?
Saltwater speeds up corrosion because it acts as an excellent electrolyte, which means it helps electricity move between metals and moisture far more efficiently than freshwater. That matters because rust and corrosion are electrochemical reactions. When steel, iron, oxygen, and water are present, metal begins to oxidize. Add salt, and that process accelerates dramatically. On a boat, this does not only affect obvious steel parts like trailers, brackets, and fasteners. It can also impact stainless steel hardware, aluminum rails and housings, electrical terminals, battery connections, pumps, hinges, steering components, and hidden metal structures in damp compartments.
Salt also leaves behind a residue after water evaporates. That residue attracts and holds moisture from the air, especially in humid coastal environments, so metal surfaces can stay damp long after the boat looks dry. This is one reason corrosion keeps progressing even when the boat is parked. In addition, boats often contain dissimilar metals installed close together, such as stainless fasteners in aluminum parts. In a saltwater environment, that creates ideal conditions for galvanic corrosion, where one metal sacrifices itself and deteriorates faster. The practical takeaway is that saltwater corrosion is not just a cosmetic problem. It is a system-wide issue that affects structural integrity, mechanical reliability, and electrical performance, which is why prevention has to be routine rather than occasional.
What is the best routine to keep a boat rust-free after every saltwater trip?
The best post-trip routine is consistent, thorough, and focused on both visible and hidden areas. Start by rinsing the entire boat with fresh water as soon as possible after use. A gentle but complete rinse is better than blasting everything with high pressure, which can force salt deeper into seams, electrical components, and bearings. Pay close attention to rails, cleats, hinges, rod holders, ladder mounts, trailer frames, axles, brakes, bunks, wheels, winches, and the underside of fittings where salt tends to collect. Flush the outboard or engine cooling system according to manufacturer guidelines, because internal salt deposits can be just as damaging as corrosion on exterior hardware.
After rinsing, wash the boat with a marine-safe soap designed to remove salt, grime, and environmental buildup without stripping protective waxes or coatings. Drying is the step many owners skip, but it is essential. Use microfiber towels, chamois cloths, or forced air to remove standing water from hardware bases, around fasteners, in storage compartments, and along trailer joints. Once the boat is dry, inspect metal surfaces for early warning signs such as staining, bubbling finishes, tea-colored streaks around stainless steel, white oxidation on aluminum, and green or blue deposits at electrical connections. Then apply a corrosion inhibitor to vulnerable metal parts, especially fasteners, exposed hardware, trailer components, battery terminals, and electrical plugs. If you use the boat frequently in saltwater, a quick rinse alone is not enough. The most effective system is rinse, wash, dry, inspect, and protect every time.
Can stainless steel and aluminum parts still corrode in saltwater, and how do you protect them?
Yes. One of the biggest misconceptions in marine maintenance is that stainless steel does not rust and aluminum does not corrode. In reality, both can degrade in saltwater if conditions are right. Stainless steel relies on a thin protective oxide layer to resist corrosion, but that layer can break down in low-oxygen, damp, salt-laden environments such as under hardware bases, inside crevices, around wet fasteners, and beneath deposits of dirt or salt. When that happens, you may see brown staining, pitting, or crevice corrosion. Aluminum does not form red rust, but it absolutely corrodes. In marine settings, it often shows up as white, chalky oxidation, pitting, or damage caused by galvanic contact with other metals.
Protection starts with proper material selection and installation. Use true marine-grade stainless and aluminum components whenever possible, and avoid mixing metals without appropriate isolation. Nylon washers, bushings, sealants, anti-corrosion pastes, and dielectric barriers can help separate dissimilar metals and reduce galvanic action. Keep surfaces clean so salt and grime do not trap moisture. Inspect bedding compounds and sealants around fittings because failed seals can trap saltwater in hidden spaces. Apply corrosion inhibitors where appropriate, but be sure the product is compatible with the metal and surrounding finishes. On aluminum, maintain protective coatings and paint systems, and repair scratches quickly before corrosion starts. On stainless steel, regular cleaning and inspection are important because corrosion often begins in areas that look minor at first but can spread below the surface. In saltwater boating, “corrosion-resistant” never means “maintenance-free.”
How do you prevent rust and corrosion in a boat’s electrical system?
Electrical corrosion is one of the most damaging and overlooked problems on boats used in saltwater. Salt moisture attacks terminals, connectors, fuse blocks, switch panels, bonding points, and battery posts, increasing resistance and leading to dim lights, intermittent electronics, hard starting, charging issues, overheated wires, and premature component failure. Corrosion often begins in places you do not see right away, such as under heat shrink, inside connectors, behind panels, or in bilge areas where damp air and salt residue are constant. That is why electrical maintenance should be treated as a core part of rust prevention, not a separate issue.
To protect the electrical system, start with marine-grade tinned copper wire and marine-rated connectors if you are upgrading or repairing anything. These materials are designed to resist corrosion much better than automotive-grade components. Keep battery terminals clean, tight, and protected with a suitable terminal coating. Use adhesive-lined heat shrink connectors, sealed plugs, and waterproof fuse holders wherever possible. Inspect wiring runs regularly for green corrosion, brittle insulation, blackened copper, or moisture intrusion. Clean affected terminals with the proper electrical cleaner, replace badly corroded parts instead of trying to save them, and apply dielectric grease where recommended to keep moisture out. It is also important to make sure bilge pumps, drains, and compartment ventilation are working properly, because trapped humidity fuels electrical corrosion even when the boat is not in use. A dry, well-sealed, properly wired electrical system is far less likely to suffer the kind of hidden corrosion that leads to expensive troubleshooting later.
How often should you inspect for rust in saltwater conditions, and what areas matter most?
In saltwater conditions, a quick inspection should happen after every outing, and a more detailed inspection should be done at least monthly during heavy use. If the boat is stored near the coast, even when not in the water, salty air and humidity can continue driving corrosion, so regular checks still matter. At minimum, look over exposed metal hardware, rails, cleats, hinges, latches, anchor gear, trailer components, steering linkages, prop hardware, and engine mounting points. Also inspect areas where water sits or airflow is poor, including bilges, lockers, battery compartments, under cushions, beneath hardware bases, and around through-hull fittings. These are the places where corrosion often begins quietly.
During a detailed inspection, focus on warning signs that indicate more than surface rust. Check for loose fasteners, swollen paint, bubbling powder coat, orange streaking from screw heads, white buildup on aluminum, pitting on stainless steel, and corrosion around electrical terminals and bonding wires. Examine the trailer carefully if one is used, because trailers often rust faster than the boat itself due to repeated salt exposure on frames, leaf springs, hubs, brake components, couplers, and winches. Also review sacrificial anodes to make sure they are wearing normally and still protecting underwater metals. If anodes disappear unusually fast or seem untouched when they should be active, that can point to larger corrosion or bonding issues. The key is to catch corrosion early, when cleaning, re-coating, re-bedding, or replacing a small part is still inexpensive. In a saltwater environment, waiting until rust is obvious usually means the damage is already more advanced than it appears.