Installing solar panels on your boat is one of the most effective ways to improve power efficiency, reduce engine run time, and make your electrical system more self-sufficient. In practical terms, a marine solar setup converts sunlight into usable charging current for your batteries, helping support lights, navigation electronics, refrigeration, pumps, and communication devices without relying entirely on shore power or a generator. For boat owners managing the broader demands of boat maintenance and repairs, solar sits at the center of electrical and plumbing systems because power availability affects bilge pumps, freshwater pressure pumps, tank monitoring, heads with electric flush, and every battery-backed circuit onboard.
The key terms matter. A solar panel produces direct current electricity. A charge controller regulates that output before it reaches the battery bank. Batteries store energy for use when sunlight drops. An inverter, if installed, converts stored DC power into AC power for household-style appliances. Power efficiency means getting the most useful energy from every watt generated and every amp-hour stored, while minimizing losses from poor wiring, shading, incorrect controller sizing, and battery mismatch. On boats, efficiency is more important than on land because available roof space is limited, weather changes quickly, and each component must survive vibration, salt exposure, and intermittent maintenance windows.
I have installed and troubleshot marine solar systems on cruising sailboats, center consoles, and trawlers, and the same lesson repeats every time: success depends less on panel brand than on careful load planning, proper cable sizing, robust waterproof connections, and realistic expectations. A 100-watt panel mounted in partial shade over a bimini can underperform a well-placed 75-watt panel by a wide margin. Likewise, a premium panel cannot compensate for corroded terminals, undersized wiring, or an old battery bank with high internal resistance. A good installation begins with the electrical loads you need to support, then works backward to charging capacity, physical mounting, and system protection.
This article serves as a hub for electrical and plumbing systems within boat maintenance and repairs. It explains how to install solar panels on your boat, but it also frames the related systems you must understand: battery chemistry, DC distribution, wire protection, charging profiles, bilge reliability, freshwater pump demand, corrosion prevention, and energy budgeting. If you want a dependable onboard power system, solar is not a standalone accessory. It is part of an integrated marine electrical strategy that should support safety-critical circuits first, hotel loads second, and convenience items last.
Plan the System Around Your Real Electrical and Plumbing Loads
The first step is to calculate daily consumption. List every device that runs from your battery bank, including cabin lights, chartplotter, AIS, VHF, autopilot, fishfinder, refrigerator, USB chargers, bilge pumps, freshwater pump, and tank sensors. For each item, multiply current draw in amps by average daily run time in hours to get amp-hours per day. A refrigerator drawing 4 amps for 10 compressor hours consumes about 40 amp-hours daily. A pressure water pump drawing 7 amps but running only 15 minutes per day uses about 1.75 amp-hours. Bilge pumps are irregular, so estimate from actual cycling history and add reserve capacity.
In many small cruising boats, realistic daily use ranges from 40 to 120 amp-hours at 12 volts. Day boats with minimal electronics may use less than 20 amp-hours. Boats with refrigeration, radar, and autopilot can exceed 150 amp-hours. The reason this matters is simple: your solar array must replace a meaningful portion of that consumption. In favorable summer conditions, a 100-watt panel may produce roughly 25 to 35 amp-hours per day after real-world losses. Those losses come from heat, panel angle, haze, wiring resistance, and controller inefficiency. If your boat uses 80 amp-hours daily, one 100-watt panel will not keep up.
Battery type also shapes the design. Flooded lead-acid batteries are affordable but need ventilation, water checks, and proper absorption charging. AGM batteries accept charge faster and reduce maintenance, but they still dislike chronic undercharging. Lithium iron phosphate batteries are lighter, tolerate deeper discharge, and charge efficiently, yet they require a compatible battery management system and charging equipment configured to the manufacturer’s voltage limits. Matching your controller settings to your battery chemistry is not optional. Incorrect charge voltages shorten battery life and can create reliability issues for pumps and navigation circuits.
As a hub topic, this is also where electrical and plumbing systems meet. Freshwater pumps, shower sump pumps, macerators, and bilge pumps often create brief but heavy current draws. If your wiring is undersized or batteries are poorly charged, voltage sag can trigger pump slowdowns, nuisance alarms, or electronics resets. A good solar installation improves system resilience because batteries spend more time near full charge, corrosion problems are spotted during installation, and owners usually end up documenting their circuits more carefully.
Choose Marine-Suitable Panels, Controllers, and Battery Integration
For boats, the best solar panel is the one that fits your available space, resists the environment, and produces dependable output under realistic conditions. Monocrystalline panels dominate modern marine installations because they offer high efficiency in a compact footprint. Rigid framed panels are durable and generally last longer, making them ideal for arches, davits, cabin tops, and rail structures. Semi-flexible panels can work on curved surfaces or low-profile deck installations, but they usually run hotter and often have shorter service lives, especially when bonded directly to surfaces with poor airflow. On boats that cruise in hot climates, panel temperature matters because output drops as cells heat up.
Charge controller choice is critical. PWM controllers are cheaper and acceptable for small systems where panel voltage closely matches battery voltage. MPPT controllers are the standard for serious marine systems because they convert excess panel voltage into additional charging current more efficiently, particularly in cool conditions, partial cloud, or with higher-voltage panel arrays. Victron Energy, Morningstar, and Renogy are widely used brands; among installers, Victron MPPT units are especially common because of strong monitoring features, clear programming, and good support for lead-acid and lithium profiles.
| Component | Best Use Case | Main Advantage | Key Limitation |
|---|---|---|---|
| Rigid monocrystalline panel | Arches, rails, cabin tops | Durable, efficient, longer service life | Needs solid mounting structure |
| Semi-flexible panel | Curved or low-profile surfaces | Lightweight, minimal windage | Often shorter lifespan, more heat buildup |
| PWM controller | Small simple systems | Lower cost, easy setup | Less efficient than MPPT |
| MPPT controller | Most cruising boats | Higher harvest, better monitoring | Higher upfront cost |
When integrating solar into an existing battery bank, review charging sources beyond the sun. Your alternator, shore charger, inverter-charger, and any DC-DC charger must all be compatible with the battery chemistry and target voltages. On many retrofit jobs, the solar hardware is fine, but the system still underperforms because the alternator regulator is fixed at lead-acid settings while the owner has upgraded to lithium. Conversely, a lead-acid house bank may never reach full charge if every charging source terminates too early. Coordinating these devices turns a collection of parts into a working charging ecosystem.
Mount Panels for Maximum Output and Minimum Maintenance
Placement determines real production. Solar panels should be mounted where they receive the longest unobstructed sun exposure, avoid foot traffic when possible, and remain accessible for cleaning and inspection. On sailboats, boom shading is a common performance killer. Even narrow shade across a few cells can cut panel output dramatically, especially on older designs without optimized bypass architecture. On powerboats, radar domes, antennas, outriggers, and rocket launchers can create moving shadows through the day. Before drilling anything, watch sun angles at dock and underway if possible.
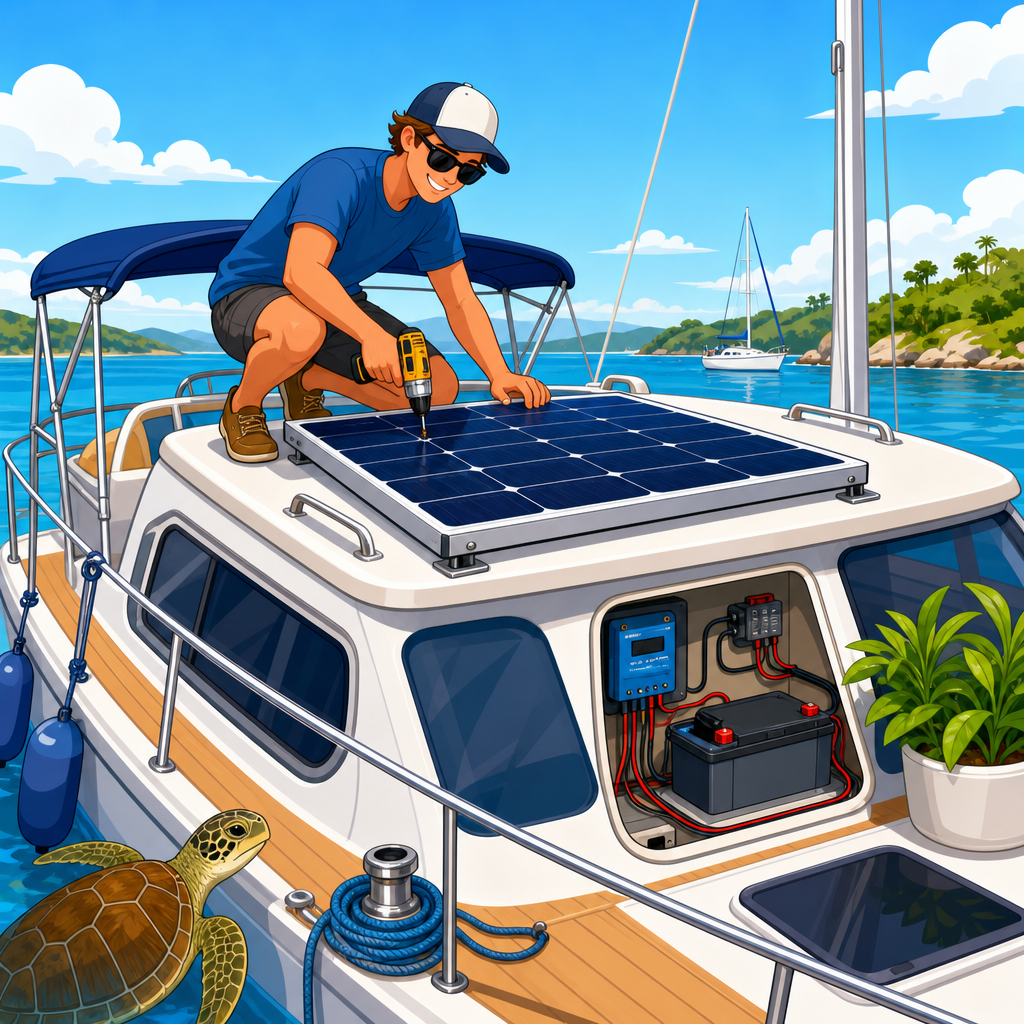
Common mounting points include stern arches, hardtops, bimini frames, davits, cabin tops, and custom rail brackets. Stern arches and hardtops usually offer the best combination of airflow, strength, and minimal deck interference. Bimini mounts are popular but need careful reinforcement because canvas frames flex. If you mount on a cabin top, use hardware that spreads load and prevents water intrusion. Backing plates in aluminum or G10 fiberglass laminate are often worth the effort. Every fastener hole should be sealed with a marine-grade polyurethane or polyether sealant appropriate for the substrate.
Airflow under the panel helps cooling and preserves output. In testing and field use, panels mounted with an air gap generally outperform bonded flush panels in warm conditions. Orientation matters too, although boats rarely hold an ideal angle to the sun. Fixed horizontal mounts are common because simplicity and durability matter more offshore than chasing theoretical peak output. Tilting hardware can increase harvest at anchor, especially at higher latitudes, but the added complexity, windage, and risk of forgetting to secure panels before departure must be weighed honestly.
Use only corrosion-resistant hardware. Stainless steel fasteners are standard, but isolate dissimilar metals where needed to reduce galvanic issues, especially when attaching to aluminum arches. Apply dielectric protection where appropriate, support cables against chafe, and route them so movement cannot fatigue connectors. A tidy installation is not cosmetic; it is how you prevent future faults.
Wire the System Safely and Protect Every Circuit
Marine wiring must follow accepted practice, and in the United States the ABYC standards are the benchmark installers work from. Use stranded tinned copper wire sized for current and distance, not household solid wire. Voltage drop is a real issue on low-voltage DC systems. A panel that should be delivering charging current can lose meaningful performance through long undersized runs. Use a voltage drop calculator and stay conservative. For charging circuits, many installers target 3 percent drop or better where practical.
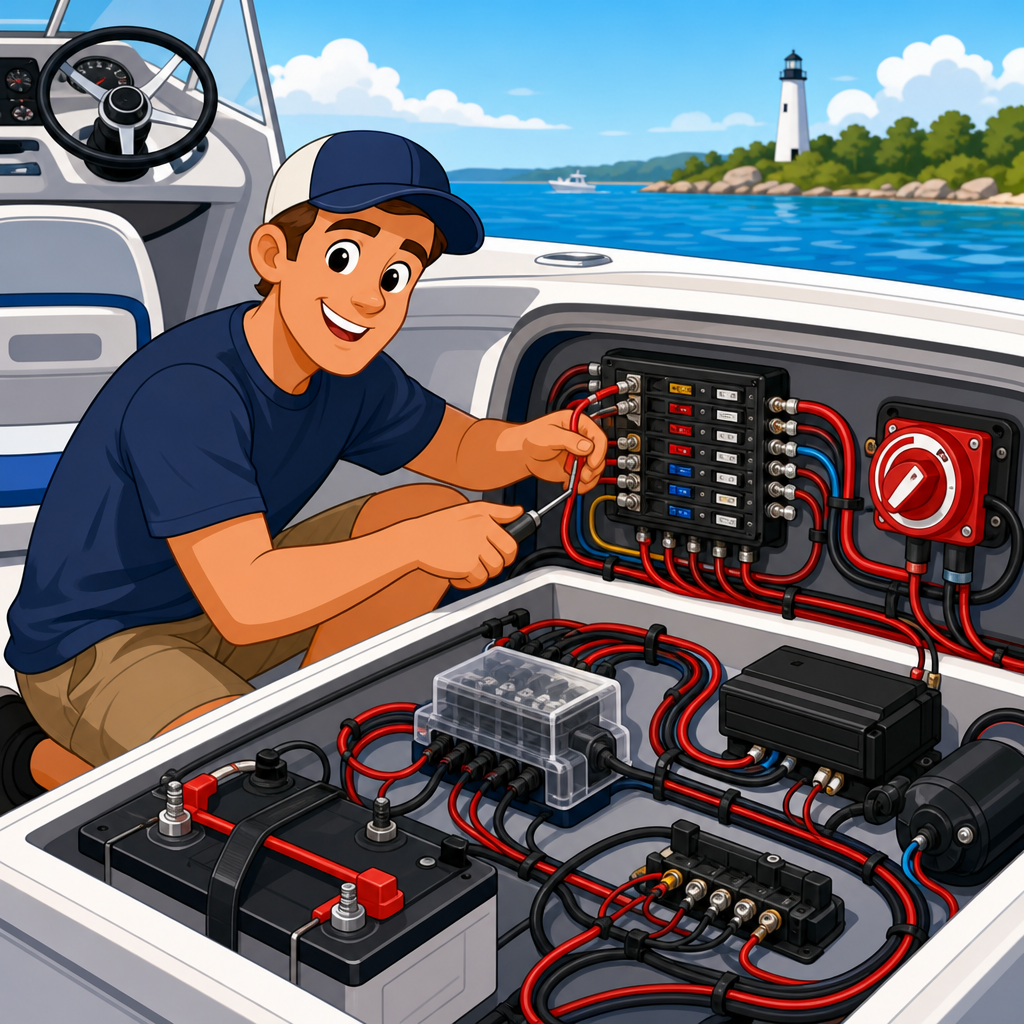
Each positive conductor connected to a battery or charging source should be fused correctly. That means fuses or breakers placed as close to the power source as practical, with ratings matched to wire ampacity and device specifications. Install a battery disconnect if one is not already present. Use marine-rated cable glands for deck penetrations, adhesive-lined heat-shrink terminals for crimped connections, and proper crimp tools rather than pliers. Most solar failures I see on boats are not panel failures. They are connector failures, water intrusion, poor crimps, or unsecured cables rubbed through by vibration.
A basic wiring path looks like this: panel to deck gland, gland to charge controller, controller to battery bank through overcurrent protection, then battery bank to DC distribution. If multiple panels are used, they may be wired in series or parallel depending on controller input limits, shading expectations, and cable run length. Series wiring reduces current and can reduce line loss, but one shaded panel can affect the string. Parallel wiring handles uneven shading better, though with higher current and potentially thicker cable requirements. On boats with mixed shade conditions, parallel often makes practical sense despite the heavier wiring.
Grounding and bonding create confusion. Most small DC solar systems connect through the vessel’s established negative bus rather than creating ad hoc returns. Follow the controller and boat manufacturer guidance, especially where metal hulls, isolation transformers, or lightning considerations apply. If you are uncertain, a marine electrician is worth the cost because incorrect bonding can create corrosion risks far beyond the solar system itself.
Commission, Monitor, and Maintain for Long-Term Power Efficiency
Once installed, commission the system methodically. Verify open-circuit panel voltage before connection. Confirm controller settings for battery chemistry, absorption voltage, float voltage, and temperature compensation if used. Check polarity twice. With sunlight on the panels, observe charging current at the controller and confirm battery voltage rise. If you have a battery monitor such as a Victron SmartShunt or BMV, compare incoming current to expected production. Monitoring matters because solar performance problems are usually gradual, not dramatic. Without baseline numbers, owners often miss declining output until batteries start struggling overnight.
Maintenance is straightforward but should be scheduled. Wash salt film, bird waste, and grime from panels with fresh water and non-abrasive cleaning methods. Inspect sealant, cable glands, mounts, and exposed wiring at least seasonally. Check for cracked junction boxes, loose fasteners, and yellowing on flexible panels, which often signals age or overheating. Review charging logs during different seasons so you understand what your array can really deliver in summer, shoulder months, and winter storage conditions. If output falls unexpectedly, test panel voltage and current separately before blaming the controller.
The efficiency gains can be substantial. On a cruising boat with refrigeration, instruments, and moderate pump use, a properly sized 300- to 500-watt array can cut engine charging time dramatically and reduce depth of discharge enough to extend battery life. Less generator runtime also means less noise, fuel use, and maintenance. Just as important, a well-designed solar system supports the reliability of connected electrical and plumbing systems. Bilge pumps see healthier voltage, freshwater pumps cycle without excessive sag, and battery-backed alarms remain available even after a cloudy day.
Solar is not a cure-all. Heavy AC loads such as air conditioning, electric cooking, or water heaters usually require shore power, a generator, or a much larger integrated system with substantial lithium storage and inverter capacity. But for the core needs of most recreational boats, solar is the most practical upgrade for cleaner charging and better energy control.
Installing solar panels on your boat for power efficiency starts with honest load calculations, continues through smart component selection, and succeeds through careful mounting, protected wiring, and ongoing monitoring. The biggest mistake is treating solar as a single product purchase when it is really a system upgrade that touches batteries, charging sources, pump reliability, and the broader electrical and plumbing systems onboard. If you size the array around actual daily demand, choose marine-capable hardware, and build the installation to ABYC-style standards, solar will quietly improve how your boat functions every day.
The practical benefits are clear: less engine idle time, healthier batteries, more dependable DC power, and better support for safety and comfort systems from bilge pumps to freshwater delivery. For owners building out a complete boat maintenance and repairs plan, this topic should connect directly to battery maintenance, marine wiring practices, bilge pump inspection, freshwater pump troubleshooting, corrosion control, and shore power management. Those are the companion subjects that turn a good solar install into a dependable onboard energy strategy.
If your next project is improving electrical and plumbing systems, start by auditing your loads and battery bank, then map the best panel locations on your boat. From there, choose the right controller, protect every circuit, and document the installation so future maintenance is simple. Done properly, marine solar is one of the few upgrades that pays you back in reliability every time you leave the dock.
Frequently Asked Questions
What do I need to consider before installing solar panels on my boat?
Before installing solar panels on your boat, start by looking at your daily power consumption and the physical space available for mounting panels. Make a list of the electrical loads you expect solar to support, such as cabin lights, navigation electronics, refrigeration, freshwater pumps, fans, radios, and charging ports. Once you know how many amp-hours you typically use in a day, you can size a solar system that meaningfully offsets that demand instead of guessing and ending up with too little charging capacity. This is the foundation of an efficient marine solar setup.
You also need to evaluate your battery bank and charging system. Solar panels do not power most onboard devices directly; they charge your batteries, which then supply your electrical system. That means your battery chemistry, total battery capacity, and existing charging sources all matter. Flooded lead-acid, AGM, gel, and lithium batteries each have different charging requirements, so your solar charge controller must be compatible with the battery bank on board. If the controller is not matched correctly, charging efficiency drops and battery life can suffer.
Mounting location is another major consideration. Boats present more challenges than homes because deck hardware, radar arches, booms, rigging, sails, and shade from antennas or biminis can reduce solar output significantly. Even partial shading on one section of a panel can drag down performance. In practice, the best results usually come from installing panels where they receive the most uninterrupted sunlight throughout the day, such as on a stern arch, hardtop, cabin roof, or custom frame above a bimini.
Finally, think about the marine environment itself. Everything on a boat is exposed to vibration, salt air, moisture, UV radiation, and occasional impact. Choose marine-grade wiring, sealed connectors, corrosion-resistant mounts, proper circuit protection, and a charge controller installed in a dry, ventilated space. A well-planned system does more than generate power efficiently; it holds up over time and becomes a reliable part of your overall boat maintenance strategy.
How do I size a solar panel system for efficient battery charging on a boat?
To size a solar panel system properly, first estimate your daily electrical usage in amp-hours. Add up the current draw of each onboard device and multiply it by the number of hours it runs each day. For example, if your refrigerator uses 4 amps and runs for 10 hours in cycling operation, that is about 40 amp-hours per day. Do the same for lighting, chartplotters, autopilot, instruments, pumps, and communication gear. This total tells you how much energy your solar system needs to replace.
Next, convert that demand into solar panel wattage. Because solar panels produce different output depending on sun angle, temperature, weather, and shading, your real-world production will usually be lower than the panel’s rated maximum. As a rough planning approach, many boat owners use peak sun hour estimates and build in a margin for inefficiency. If your boat uses 100 amp-hours per day on a 12-volt system, that is roughly 1,200 watt-hours of energy. Depending on your location and sunlight conditions, you may need around 300 to 500 watts of solar capacity to replace that use consistently, especially if the boat is at anchor for extended periods.
Controller choice affects system efficiency too. An MPPT charge controller is often the better option for marine solar because it converts panel voltage more effectively and usually harvests more energy than a PWM controller, especially in variable light or when using higher-voltage panel configurations. This can make a noticeable difference on a boat where space is limited and every watt counts. If you are trying to maximize output from a modest panel area, MPPT is typically worth the investment.
It is also smart to size the system with future use in mind. Many boat owners add electronics, cooling, or charging needs over time. Installing a controller and wiring that can handle modest expansion may save money and labor later. A solar setup that is slightly oversized for current needs often performs better in real cruising conditions because it can keep up during cloudy periods, partial shade, or shorter winter daylight hours.
Where is the best place to mount solar panels on a boat?
The best mounting location is wherever the panels receive the most direct sunlight with the least shading and where the installation can remain secure in rough marine conditions. Common mounting points include stern arches, hardtops, pilothouse roofs, cabin tops, davit structures, and bimini frames. Each location has tradeoffs. A stern arch or rigid frame often gives excellent airflow and keeps panels clear of foot traffic, while a cabin top may be convenient but more likely to experience shading from the mast, boom, or deck equipment.
Shade management is critical. On a boat, even a small shadow from rigging, antennas, outriggers, or radar equipment can lower output noticeably. When choosing a location, look at the boat from different sun angles during the day if possible. A spot that seems ideal at noon may be shaded during morning and afternoon charging hours. This matters because marine solar systems often depend on collecting energy steadily across the whole day to keep batteries topped up and reduce engine charging time.
Structural strength matters just as much as sunlight exposure. Panels and brackets must withstand wind loading, vessel movement, and occasional impact from gear or lines. Flexible panels can work on curved surfaces or low-profile installations, but rigid panels generally offer better efficiency, longer service life, and improved heat dissipation. If you mount panels on a bimini or canvas-supported structure, verify that the frame is strong enough and that the fabric installation will not sag, chafe, or trap heat excessively.
Finally, choose a location that allows safe cable routing and easy maintenance access. Wiring should be protected from abrasion, supported properly, and led through watertight deck glands where it enters the boat. You should also be able to inspect the panels, clean salt buildup, and check fasteners without creating a difficult maintenance task. The best mounting location is not just the sunniest spot; it is the spot that balances output, durability, safety, and long-term serviceability.
What components are required for a complete marine solar panel installation?
A complete marine solar installation usually includes the solar panels, mounting hardware, a solar charge controller, marine-grade wiring, fuses or breakers, battery connections, and watertight cable entry points. The panels collect sunlight and produce DC electricity. The charge controller regulates that power so your batteries receive the proper charging voltage and current. Without a controller, you risk overcharging batteries and damaging the electrical system. In most boat installations, the controller is one of the most important pieces of equipment because it directly affects charging performance and battery health.
The wiring and protection components are just as important as the panels themselves. Use properly sized tinned marine wire to reduce corrosion and voltage drop. Install fuses or breakers near power sources according to accepted marine wiring practices so the system is protected in the event of a short circuit or equipment fault. Connectors should be weather-resistant and securely crimped, and all terminals should be protected against corrosion. These details are what separate a dependable, efficient installation from one that develops intermittent issues in a harsh saltwater environment.
You may also need battery monitoring equipment. A battery monitor helps you track state of charge, charging current, and energy consumption, which makes it much easier to evaluate whether the solar system is meeting your actual onboard needs. This is especially valuable if you spend long periods away from shore power or if you are integrating solar with alternator charging, shore chargers, or wind generation. Monitoring turns the system from a simple charging source into a more controlled and efficient power-management setup.
Depending on the design, some boats also include bus bars, distribution panels, isolators, or DC-DC charging equipment as part of a larger electrical upgrade. If your article addresses power efficiency broadly, it is worth noting that solar works best when paired with an organized electrical system. Efficient appliances, healthy batteries, clean connections, and accurate monitoring all contribute to better results. Solar panels are highly effective, but their full benefit shows up when the entire onboard charging and storage system is designed to work together.
How can I maximize solar power efficiency after the panels are installed?
Once the system is installed, maximizing efficiency comes down to reducing losses and keeping every component working at its best. Start by keeping the panels as clean and unobstructed as possible. Salt spray, bird droppings, dust, and grime can cut production, especially over time. A simple rinse and gentle cleaning routine can improve performance noticeably. It also helps to check for new sources of shade, such as added antennas, gear lashings, dinghy equipment, or deck items that block sunlight during key parts of the day.
Battery health has a direct impact on solar efficiency. If your batteries are aging, sulfated, poorly balanced, or undersized for your electrical demand, the solar system will not perform as effectively as it should. Healthy batteries accept charge better and store more of the energy your panels produce. It is also important to verify that your charge controller settings match your battery type exactly. Incorrect absorption, float, or low-temperature charging settings can waste energy or reduce battery longevity.
Another major factor is energy management onboard. Solar becomes much more effective when paired with efficient habits and equipment. Switching to LED lighting, reducing inverter