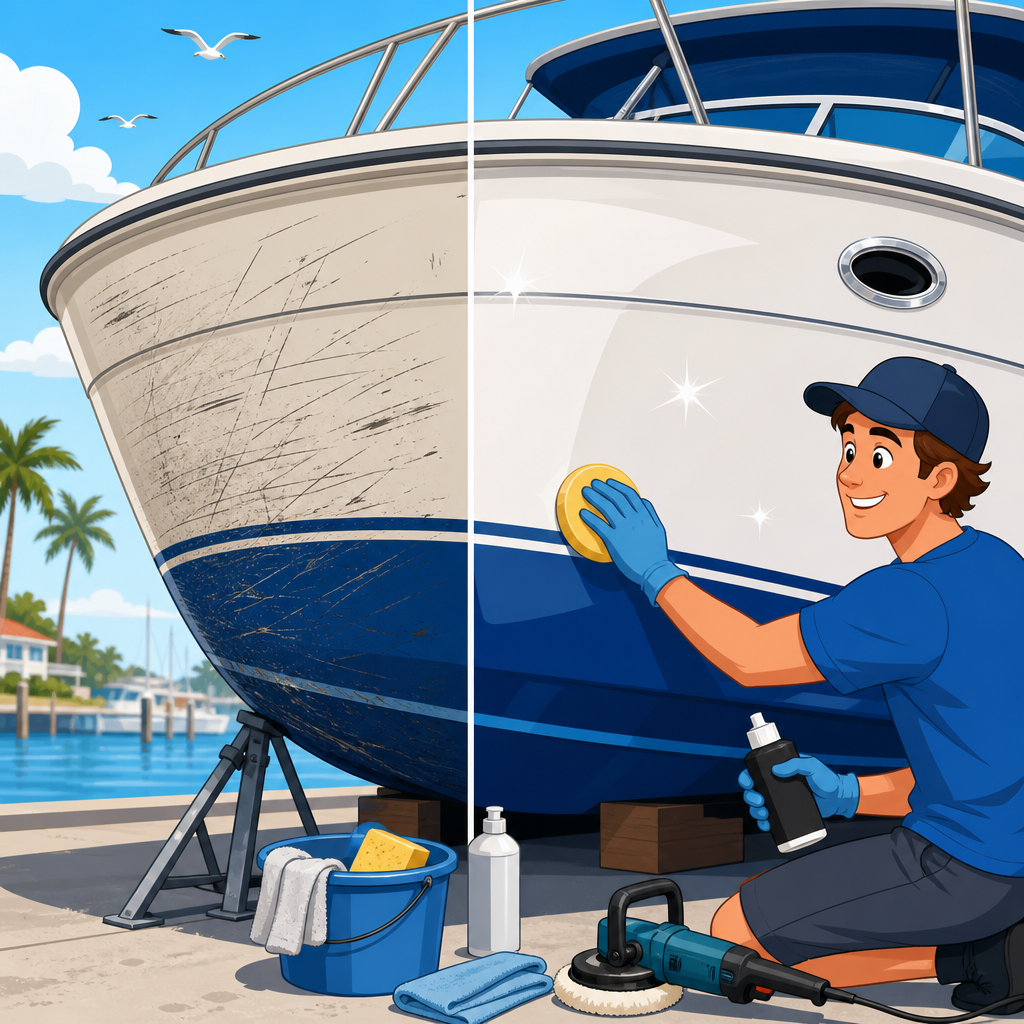
Scratches and scuffs on a boat’s hull are more than cosmetic flaws; they can signal abrasion damage, weaken protective coatings, and shorten the life of gelcoat, paint, or clear finishes if they are ignored. In practical terms, a scuff is usually surface transfer from a dock, trailer bunk, fender, or another hull, while a scratch cuts into the finish and may reach the gelcoat or substrate below. I have repaired both on fiberglass fishing boats, painted aluminum skiffs, and high-gloss center consoles, and the first lesson is always the same: identify the depth of damage before reaching for compound. That diagnosis determines whether the right fix is washing, polishing, wet sanding, filling, repainting, or simply protecting the area after cleanup.
For owners focused on boat maintenance and repairs, hull cleaning and protection sit at the center of long-term value. A clean, smooth hull reduces drag, supports fuel efficiency, and makes inspections easier. A protected hull resists oxidation, staining, UV degradation, and waterline buildup. Learning how to remove scratches and scuffs from a boat’s hull matters because it prevents small defects from becoming expensive cosmetic restorations. It also helps owners avoid common mistakes, such as buffing dirt into the finish, sanding through gelcoat, or applying wax over contamination that should have been removed first.
This hub article covers the full process, from inspection and cleaning to correction and protection, so it works as a foundation for every related hull cleaning and protection task. You will learn how to distinguish between transfer marks and true scratches, what tools and materials are worth buying, how fiberglass hull repair differs from painted metal hull correction, and when damage has crossed the line from DIY-safe to professional territory. If you want a simple rule at the start, use the least aggressive method that fully removes the defect. That approach preserves film thickness, limits haze, and keeps the hull looking original longer.
Inspect the Hull Before You Correct Anything
The fastest way to make a small blemish worse is to treat every mark the same. Start with a careful wash using a pH-balanced boat soap, fresh water, and a microfiber or chenille wash mitt. Do not inspect a salt-crusted or dirty hull, because mineral deposits and grit hide the true depth of damage. Once the hull is clean and dry, examine the affected area in direct sun and again under angled artificial light. A scuff usually looks like smeared material on top of the surface, often black, blue, or gray from rub rails, dock edging, or trailer parts. A scratch typically has a defined groove you can catch with a fingernail.
On fiberglass boats, the key question is whether the damage sits in oxidation, in the gelcoat surface, or through the gelcoat. Gelcoat is the pigmented outer resin layer applied in a mold, and it provides gloss, color, and basic water resistance. Light scratches that do not catch a nail can often be removed with compound and polish. Moderate scratches that barely catch a nail may need controlled wet sanding followed by compounding. Deep scratches that expose laminate fibers, create dark lines, or show spider cracking around the impact point need filling and color matching. On painted hulls, especially Awlgrip, Alexseal, or automotive-style urethane finishes, aggressive compounding can permanently alter gloss. Always confirm the coating system before correction.
A moisture meter is useful if you suspect a deeper breach below the waterline, but for most topside scuffs and scratches, visual inspection is enough. Mask adjacent decals, boot stripes, and hardware before any machine work. If you are unsure how the finish will react, test a small area first. That simple test spot tells you whether the mark is transfer, oxidation, or true material loss.
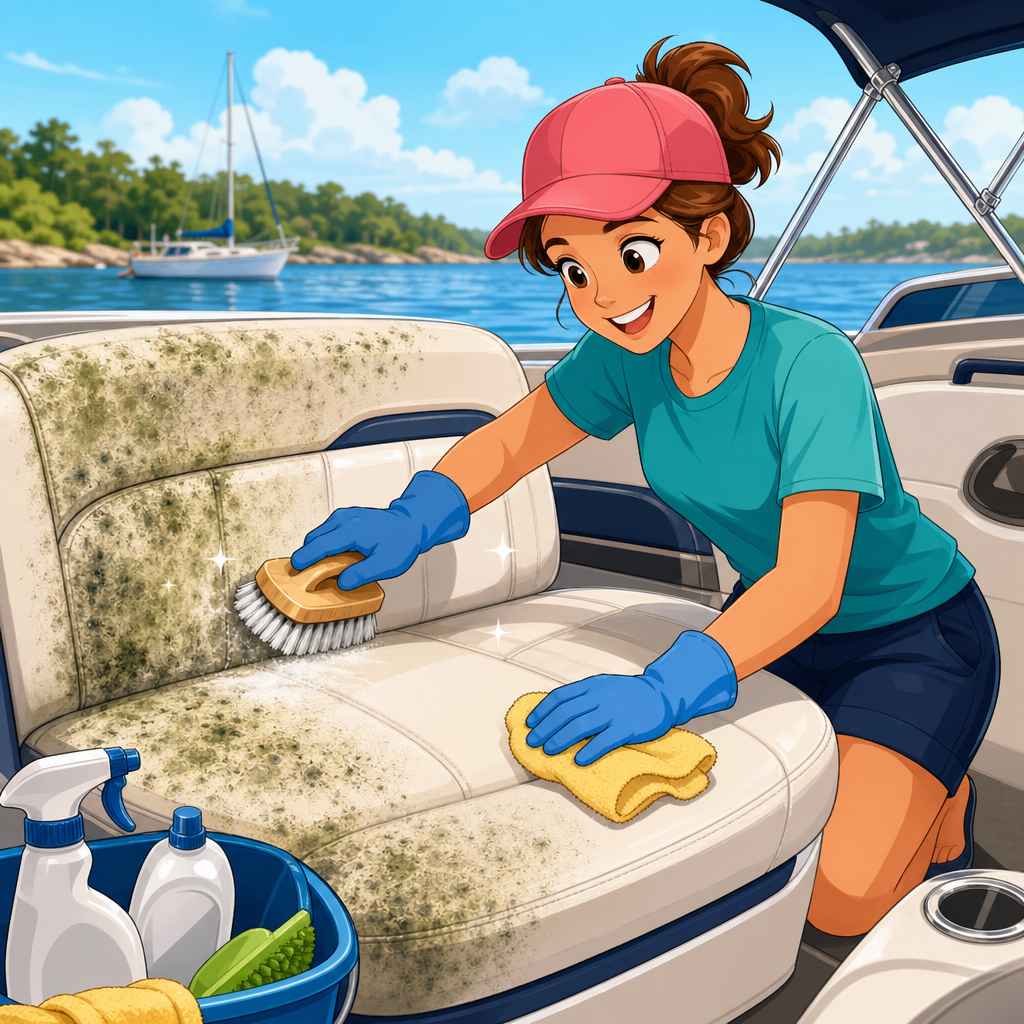
Start With Hull Cleaning That Removes Transfer Marks Safely
Many marks that look serious are not scratches at all. They are transferred material from PVC fenders, rubber dock edging, wooden pilings coated with paint, or oxidized trailer bunks. In my experience, black streak remover is often unnecessary for localized scuffs if you first use boat soap and then a dedicated marine cleaner wax remover or solvent-safe surface cleaner recommended by the hull manufacturer. For fiberglass gelcoat, products such as 3M Marine Cleaner and Wax alternatives, Meguiar’s M49 oxidation remover, or a dewaxing solvent used carefully on a microfiber towel can lift transfer marks without cutting deeply into the finish. Always wipe gently, rotate towels often, and stop as soon as the foreign material is gone.
Magic erasers are popular, but they work like very fine abrasives. On textured non-skid they can help; on glossy hull sides they can dull the shine if used aggressively. Household solvents are another frequent mistake. Acetone can soften or haze some finishes, strip wax instantly, and smear contamination across the panel if overused. Mineral spirits are safer for some residue but still need a follow-up wash. A marine clay bar or synthetic clay mitt with proper lubricant is a better choice when the hull feels rough from embedded contaminants, tannin residue, light overspray, or industrial fallout. Clay removes bonded contamination that washing leaves behind, creating a clean surface before polishing.
If the mark disappears after cleaning, your next step is protection, not more correction. Overworking a clean spot removes healthy material for no benefit. This is why hull cleaning and protection belong together: proper cleaning reveals what actually needs repair, and proper protection prevents the same scuffs from sticking as stubbornly next time.
Use the Right Correction Method for the Hull Material
Boat hull scratch removal depends on the surface system. Fiberglass gelcoat is much thicker than automotive clear coat and can tolerate measured abrasion, which is why compounds and wet sanding are standard marine correction methods. Painted hulls are different. Linear polyurethane systems, including Awlgrip and Alexseal, deliver excellent gloss and chemical resistance, but manufacturers often advise against heavy compounding because it changes the surface texture and can create uneven gloss. Aluminum boats may have paint, powder coat, or bare metal sections, each requiring a separate approach. Never assume one product works across all hulls.
For light fiberglass scratches and scuffs, use a marine rubbing compound with diminishing abrasives on a dual-action polisher or rotary buffer with a wool or foam cutting pad, then refine with a finishing polish. For painted hulls, begin with the least aggressive finishing polish approved for that coating, usually on a foam pad at low speed. For colored gelcoat, especially dark blue and black hulls, expect to finish with a finer polish because haze and holograms show easily. For aluminum, remove transfer marks with coating-safe cleaners first; if paint is breached and metal is exposed, correction turns into touch-up and corrosion prevention.
| Hull surface | Best first step | Safe correction range | Main caution |
|---|---|---|---|
| Fiberglass gelcoat | Wash, decontaminate, inspect | Compound, polish, wet sand if needed | Avoid sanding through thin edges and corners |
| Painted fiberglass | Confirm coating type | Cleaner or fine polish only unless manufacturer allows more | Heavy compounding can distort gloss permanently |
| Painted aluminum | Clean and assess coating breach | Light polish for transfer; touch-up if paint is cut | Exposed metal needs corrosion control quickly |
| Bare aluminum | Non-acidic cleaning | Metal-safe cleaning and protection | Abrasives can leave uneven bright spots |
How to Remove Light Scratches and Scuffs From Gelcoat
If the damage is shallow, gelcoat responds well to a structured correction process. Tape off the work area, then start with a test spot about one square foot. Apply compound to the pad or the hull, spread it at low speed, then work the area in overlapping passes until the product begins to clear. Wipe away residue and inspect. If the scratch is gone and gloss is strong, repeat that process panel by panel. If the scratch remains but has softened, step up pad choice or compound strength before considering sandpaper. This progression protects gelcoat thickness.
For isolated marks that still catch a nail lightly, wet sanding may be appropriate. Use clean water with a drop of boat soap for lubrication and begin no coarser than necessary, often 1500 or 2000 grit for moderate defects, then refine with 2500 or 3000 grit before compounding. Sand with a soft interface pad, keep the surface wet, and avoid hard pressure. The goal is to level the edges of the scratch, not chase the bottom of every groove. I mark the area with a grease pencil and stop frequently to dry and inspect. Once the defect is reduced, compound with a marine-grade cutter and follow with polish to restore clarity.
Rotary buffers cut faster, which helps on oxidized gelcoat, but they also build heat quickly. Dual-action polishers are slower yet safer for most owners because they reduce swirl marks and edge burn. On dark hulls, finish with a soft foam pad and a dedicated finishing polish. If you can still see a thin line after polishing but it no longer catches a nail, leaving it alone is often smarter than removing more gelcoat for a perfect but short-lived result.
What to Do When Scratches Are Too Deep for Buffing
Deep hull scratches require repair, not polishing. Signs include exposed fiberglass strands, a white or dark trench that remains unchanged after compounding, chipped gelcoat edges, or any crack radiating outward from the impact area. In these cases, the standard approach is to clean the area, bevel damaged edges lightly, fill with color-matched gelcoat paste or marine epoxy system appropriate to the finish, level the repair after cure, then sand, compound, and polish. Spectrum Color and manufacturer-matched gelcoat repair kits can save time on common production boat colors, but older hulls often need tinting because sun exposure shifts color over time.
Below the waterline, repair choices also depend on barrier coatings and antifouling systems. If a scratch penetrates through gelcoat into laminate near a constantly wet area, check whether the boat has an epoxy barrier coat. Interlux InterProtect and similar systems are used to reduce osmotic blister risk. Restoring the original coating stack matters more than cosmetic gloss in those zones. On painted aluminum, any exposed metal should be cleaned, etched or primed per the paint system, and topcoated promptly to stop corrosion from beginning at the scratch site.
If damage sits on a sharp chine, near a through-hull, across molded graphics, or on a premium sprayed finish, professional repair is usually the economical choice. Matching metallic, pearlescent, or custom colors is difficult, and poor blending is more visible than the original scratch. A good rule is simple: if structure, water intrusion, or exact color match is involved, get a marine yard or refinishing specialist to handle it.
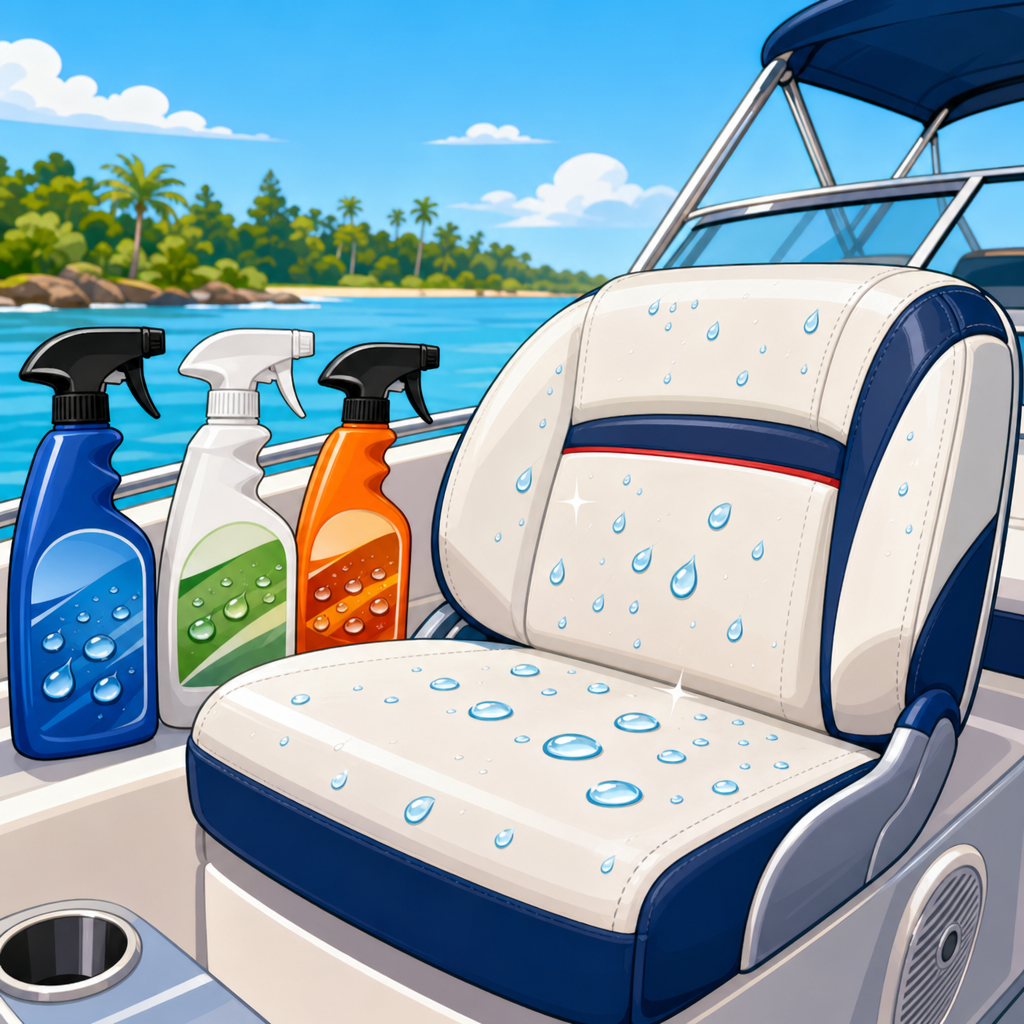
Protect the Hull So New Scuffs and Oxidation Are Less Likely
After correction, protection locks in the result and makes future cleaning easier. Traditional carnauba wax still has a place on lightly used boats, but synthetic polymer sealants and ceramic-based marine coatings usually last longer against UV radiation, detergents, and repeated wash cycles. On gelcoat, a quality marine sealant can maintain gloss for a season, while a professionally installed ceramic coating may improve water behavior and stain release for longer, although it is not a substitute for regular washing. Protection does not make a hull scratch-proof, but it reduces adhesion of transfer marks and slows oxidation, which is especially important on colored gelcoat.
For boats kept in slips, rinse salt off after use, especially around the waterline and aft quarters where exhaust soot and mineral deposits accumulate. Use fenders with clean covers, inspect dock contact points, and replace hardened trailer bunk carpeting or misaligned rollers that cause repeated scuffing. If black streaks return constantly, look above the mark for runoff from rub rails, hardware, or scupper discharge. Correcting the source prevents endless spot cleaning. During seasonal maintenance, inspect wax or coating performance by watching how water sheets or beads after washing. When gloss drops and cleaning gets harder, refresh protection before oxidation deepens.
Hull cleaning and protection are not separate chores; they are one maintenance cycle. Clean thoroughly, correct sparingly, protect consistently, and inspect often. That sequence preserves finish thickness, keeps the boat easier to wash, and lowers the chance that a minor scuff turns into a visible permanent scar. For most owners, the best next step is to build a simple kit with boat soap, microfiber towels, a coating-safe cleaner, a marine compound, a finishing polish, pad options, and a durable sealant. Start with a test spot, use the least aggressive method, and escalate only when the hull truly needs it.
Frequently Asked Questions
What is the difference between a scuff and a scratch on a boat’s hull?
A scuff is usually a surface mark caused by material transfer rather than actual material loss from the hull. Common examples include black streaks from dock rub, fender marks, trailer bunk residue, or light contact with another boat. In many cases, the hull finish itself is still intact, and the discoloration sits on top of the gelcoat, paint, or clear coat. A scratch, by contrast, cuts into the finish. It may start as a light surface line in the oxidation layer or topcoat, but deeper scratches can go through the gelcoat or paint and expose underlying laminate on fiberglass boats or bare metal on aluminum hulls. That difference matters because scuffs often respond to washing, solvent-safe cleaners, oxidation remover, or mild polishing compounds, while scratches usually need leveling, wet sanding, compounding, polishing, and sometimes filling or recoating.
A quick inspection helps you tell them apart. If the mark lightens or disappears with boat soap, a dedicated hull cleaner, or a gentle rubbing compound, it was probably a scuff. If your fingernail catches in the damage, it is more likely a true scratch. Color is another clue. Dark marks on a white hull are often transfer from rubber, vinyl, or painted surfaces. A white line on a darker painted hull may indicate the finish itself has been broken. On fiberglass, a shallow scratch may only affect the gloss, while a deeper one can expose duller gelcoat beneath. Knowing whether you are dealing with transfer, finish damage, or substrate exposure determines whether the right fix is simple cleanup or a more involved repair.
How can I safely remove scuffs and light scratches without damaging the hull finish?
Start with the least aggressive method and work up only as needed. Wash the area thoroughly with pH-balanced boat soap and clean water to remove salt, dirt, and grit that could cause more scratching during repair. Dry the surface, then inspect it in good light. For surface scuffs, apply a marine-safe cleaner, scuff remover, or light polishing compound using a microfiber cloth or foam applicator. Work a small area at a time with moderate pressure. On gelcoat, oxidation removers and fine compounds are often effective for dock rash, fender transfer, and superficial haze. On painted or clear-coated hulls, use products specifically labeled safe for modern marine paint systems, because aggressive rubbing compounds can thin or dull the finish faster than many owners realize.
If the mark remains but appears shallow, a fine polishing compound or finishing compound can often reduce or eliminate it. Dual-action polishers are safer than rotary buffers for inexperienced users because they generate less heat and are less likely to burn through paint or leave swirl marks. For very light scratches in gelcoat, wet sanding may be appropriate, but only when you are confident the damage is not too deep and you can restore the gloss afterward. Use very fine grits, keep the area lubricated, sand minimally, and follow with compound and polish. Always test your process in a small inconspicuous area first. Once the defect is removed or reduced, protect the repaired section with wax or a sealant on gelcoat, or the appropriate paint-safe protectant on coated surfaces. The goal is not just to make the mark disappear, but to restore the protective layer that shields the hull from UV, water intrusion, and further abrasion.
When is a hull scratch too deep for polishing and needs a proper repair?
If a scratch catches your fingernail clearly, shows a change in color beneath the surface, or remains visible after careful polishing, it is probably beyond a simple cosmetic correction. On fiberglass boats, deep scratches may cut through the glossy outer surface and into the gelcoat. If you see exposed fiberglass strands, a chalky underlayer, or any sign of cracking around the damaged area, the repair needs more than compound. On painted hulls, a scratch that reveals primer or substrate usually requires spot repair and recoating. On aluminum boats, exposed metal should be addressed promptly because once the coating is breached, corrosion can begin, especially in saltwater environments.
Depth is not the only factor. Location matters too. Damage near chines, strakes, bow entry points, keel areas, trailer contact zones, and waterline sections often sees repeated stress and abrasion. A scratch in those areas can worsen if left untreated. If the scratch is wide, branching, associated with impact, or accompanied by chips, spider cracks, or softness in the surrounding material, it may indicate structural or coating adhesion issues rather than a simple surface defect. In those cases, filling, fairing, color matching, and refinishing may be necessary. If you are unsure whether the damage is only cosmetic, it is wise to have a marine repair technician evaluate it. A quick professional assessment can prevent a small finish problem from turning into moisture intrusion, blistering, delamination, or recurring coating failure.
What tools and products work best for repairing scratches and scuffs on fiberglass, painted, and aluminum hulls?
The best tools depend on the hull material and finish system. For fiberglass gelcoat, useful basics include boat soap, microfiber towels, non-scratch applicator pads, marine scuff remover, oxidation remover, rubbing compound, polishing compound, wet/dry sandpaper in very fine grits, masking tape, and a quality wax or sealant. A dual-action polisher with foam cutting and polishing pads can speed up the work and produce more even results than hand polishing. For deeper gelcoat scratches, you may also need gelcoat repair paste, color-matched pigment, spreaders, and finishing abrasives. The key with gelcoat is controlled correction: remove only as much material as needed, then restore gloss and protection.
For painted hulls and clear-coated finishes, product selection is more sensitive. Use compounds and polishes approved for marine paint systems such as Awlgrip, Alexseal, or similar finishes, because some heavy-cut products intended for gelcoat are too aggressive for painted surfaces. Soft foam pads, paint-safe cleaners, and finishing polishes are often more appropriate than harsh compounds. On painted aluminum skiffs, scuffs may come off with a cleaner or fine polish, but scratches through the coating often require feathering, priming, and touch-up paint rather than abrasive correction. For bare or coated aluminum, avoid products that can promote staining or corrosion, and follow coating manufacturers’ prep instructions closely. In all cases, clean pads often, keep surfaces cool, and never combine aggressive abrasives with high speed and heavy pressure. Good results come from patience, compatibility, and a system matched to the hull’s actual finish.
How can I prevent new scratches and scuffs after the hull has been repaired?
Prevention starts with identifying what caused the damage in the first place. A large percentage of hull scuffs come from docking, trailering, poor fender placement, dirty bunks, and contact with rough pilings or seawalls. Use properly sized fenders and position them at the correct height before approaching a dock, especially in wind or current. Inspect trailer bunks, rollers, and guides for worn carpet, exposed fasteners, trapped sand, or misalignment that can grind into the hull during launch and retrieval. Keep docking lines organized so the boat is not repeatedly pulled hard against abrasive surfaces. On high-gloss boats, even repeated light rubbing can dull and mark the finish over time.
Routine maintenance also makes future damage less likely and easier to spot early. Wash the hull regularly to remove salt crystals, grit, and contaminants that can act like abrasives. Apply wax or a protective sealant on gelcoat as part of normal care, and use paint-safe protectants for painted finishes. These layers do not make the hull scratch-proof, but they reduce friction, limit staining, and make scuffs easier to clean off before they become embedded. If you store the boat on a trailer, rinse bunks and hull contact points after use. If you keep it in a slip, inspect the hull sides often for fresh dock marks. Addressing a new scuff right away is much easier than correcting a neglected scratch after UV exposure, oxidation, and water have had time to compound the damage. Consistent handling habits and simple preventive maintenance do more to preserve the hull finish than any repair kit ever will.