Selling a boat for top dollar starts long before the listing goes live. Buyers decide within seconds whether a vessel feels worth pursuing, and photography shapes that judgment more than any other listing element. In my work with marine listings, I have seen average boats sell quickly because the photos were clean, complete, and confidence-building, while better boats lingered because dim phone snapshots made them look neglected. If you want the best price, great listing photos are not a cosmetic extra. They are a sales tool that influences click-through rate, inquiry volume, showing quality, and negotiating leverage.
This article explains how to take great photos for your boat listing while also showing how photography supports the broader goal of selling your boat for the best price. A strong photo set does three jobs at once. First, it attracts attention in crowded marketplace results on YachtWorld, Boat Trader, Facebook Marketplace, Craigslist, and dealer sites. Second, it answers the practical questions serious buyers ask before they make contact: condition, layout, equipment, maintenance level, and signs of wear. Third, it reduces uncertainty. In boat sales, uncertainty lowers offers. When buyers cannot see details clearly, they assume hidden issues, deferred maintenance, or seller inexperience.
Boat listing photos differ from casual boating pictures. A listing photo is not about capturing a fun day on the water. It is about documenting the vessel accurately while still presenting it in the most flattering honest way. That means proper preparation, consistent lighting, wide coverage, useful detail shots, and an intentional sequence. It also means understanding what buyers of different boat types care about. A center console buyer wants to inspect helm electronics, upholstery, and transom rigging. A cruiser buyer wants salon brightness, galley condition, head cleanliness, and berth layout. A sailboat buyer looks closely at deck hardware, standing rigging, sail condition, and engine access.
Why does this matter so much to price? Because online shopping now dominates early-stage boat buying. Most prospects prequalify a vessel from photos before they ever read every spec line. If your images communicate care, completeness, and transparency, more qualified buyers reach out. More qualified buyers create competition. Competition supports asking price. Good photos also reduce the number of low-effort inquiries that waste time and push sellers into unnecessary price cuts. In short, better boat listing photography does not just help your listing look nicer. It directly improves perceived value, which is central to how to sell your boat for the best price.
Prepare the Boat Before You Ever Pick Up the Camera
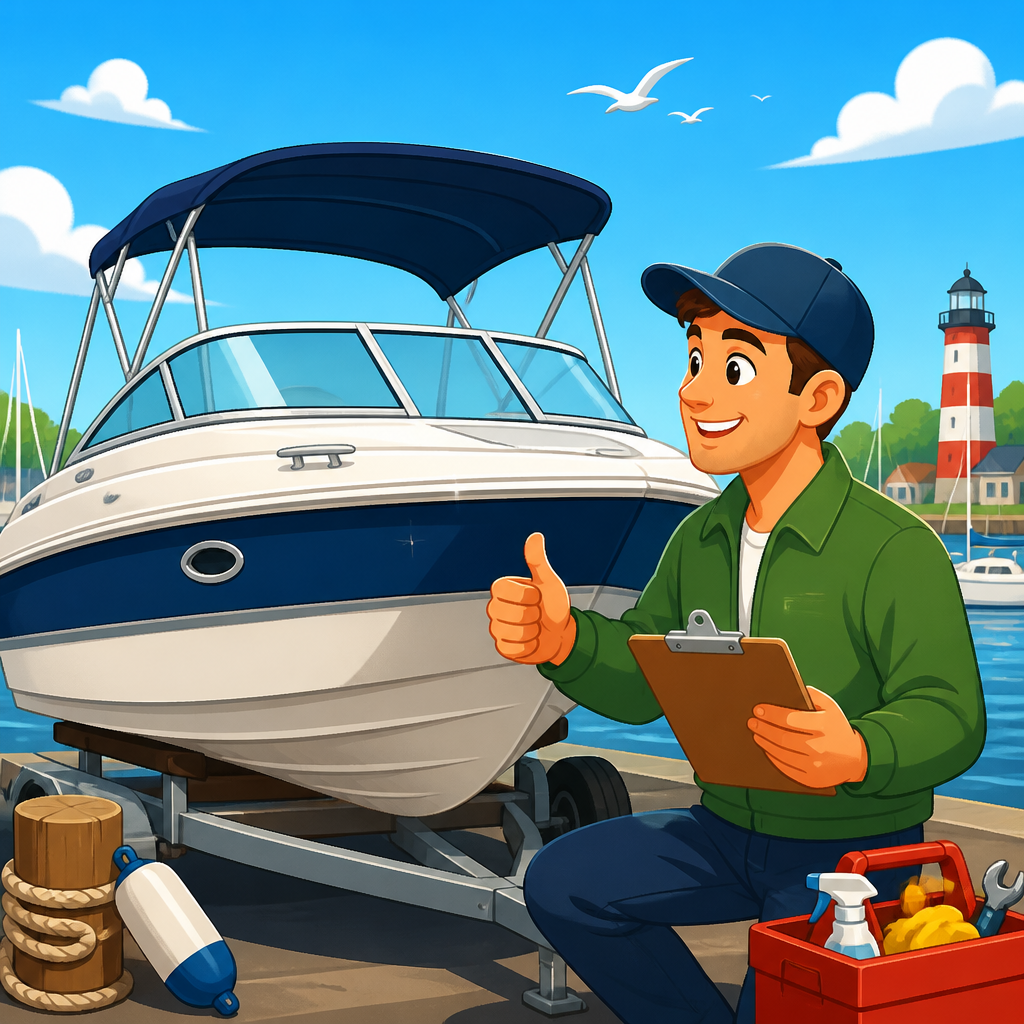
The best boat listing photos begin with staging, not shooting. Every flaw the camera sees becomes part of the buyer’s first impression, so preparation is the highest-return step in the process. Start with a full wash, including hull sides, non-skid, stainless, canvas, windows, and trailer if included. Water spots on glass, oxidation on gelcoat, bird droppings on canvas, and rust stains near scuppers all photograph worse than they appear in person. If the boat has been stored, open it up well in advance to air out the cabin, remove moisture, and clear musty smells that often correlate in a buyer’s mind with neglected maintenance.
Declutter aggressively. Remove life jackets piled in corners, random dock lines, cleaning bottles, tools, loose chargers, food containers, and personal items. Buyers are not evaluating your boating lifestyle. They are evaluating storage volume, seating condition, deck space, and care level. Make berths neatly, align cushions, coil lines cleanly, and empty trash bins. If cushions are stained or torn and you cannot replace them, photograph them accurately but keep the surrounding area immaculate so the defect reads as isolated rather than systemic. On trailers, inflate tires, clean wheels, and level the boat if possible. Small details communicate big conclusions.
Mechanical presentation matters too. Wipe down the engine compartment, clean bilges, organize wiring where safely possible, and photograph service records separately for later use in the listing. A clean engine bay signals maintenance discipline. I have watched buyers mentally add thousands to their risk estimate after seeing an oily bilge or corroded battery terminals. You do not need to hide age. You need to show order. If there is obvious damage, fix it before listing when the economics make sense, or plan to disclose it clearly. Honest presentation protects trust and keeps negotiations focused on reality instead of suspicion.
Choose the Right Equipment, Timing, and Shooting Conditions
You do not need a professional camera to take strong boat listing photos, but you do need control. Modern phones can work very well if you clean the lens, enable the highest resolution, avoid digital zoom, and hold the device level. A newer iPhone, Samsung Galaxy, or Google Pixel is usually sufficient. If you own a mirrorless or DSLR camera, a wide-angle lens in the 24mm to 28mm equivalent range is ideal for cabins and cockpit spaces because it captures the full area without extreme distortion. A basic tripod helps on interior shots where steadiness matters, especially in lower light.
Timing is critical. The best exterior photos are usually taken in soft light: early morning, late afternoon, or bright overcast conditions. Midday sun creates harsh shadows, blown highlights on white gelcoat, and blacked-out interiors under hardtops. Overcast skies are often excellent for boat listings because they reduce glare and show surfaces evenly. For interiors, shoot when natural light enters through hatches and windows but does not create blown-out rectangles. Turn on cabin lights if they add warmth, but avoid mixed lighting that makes woodwork look orange and fiberglass look yellow. Consistency helps the listing feel professional.
Shoot the boat in its best context whenever possible. In-water photos often outperform dry-stack or storage-yard images because they help buyers imagine ownership. A floating boat with properly set fenders removed and lines minimized looks more valuable than the same boat squeezed between other vessels at a marina. If on-trailer presentation is the only option, choose a clean background with space around the hull. Avoid distracting items such as dumpsters, forklifts, busy roads, and neighboring boats in disrepair. Before every shot, scan frame edges for poles, hoses, power cords, and reflections that create visual clutter and lower perceived quality.
| Photo Type | Best Time | What Buyers Learn | Common Mistake |
|---|---|---|---|
| Main exterior profile | Morning or late afternoon | Overall condition, hull lines, proportion | Shooting in harsh noon sun |
| Helm and electronics | Bright shade or overcast | Equipment level, cleanliness, usability | Glare covering screens and gauges |
| Cabin wide shot | Natural light plus balanced interior lights | Layout, headroom feel, upholstery condition | Using flash that flattens the space |
| Engine compartment | Even ambient light | Maintenance habits, corrosion level, access | Photographing a dirty bilge |
| Trailer photo | Soft daylight | Included value, transport readiness | Ignoring tires, rust, and winch detail |
Capture the Complete Set Buyers Expect to See
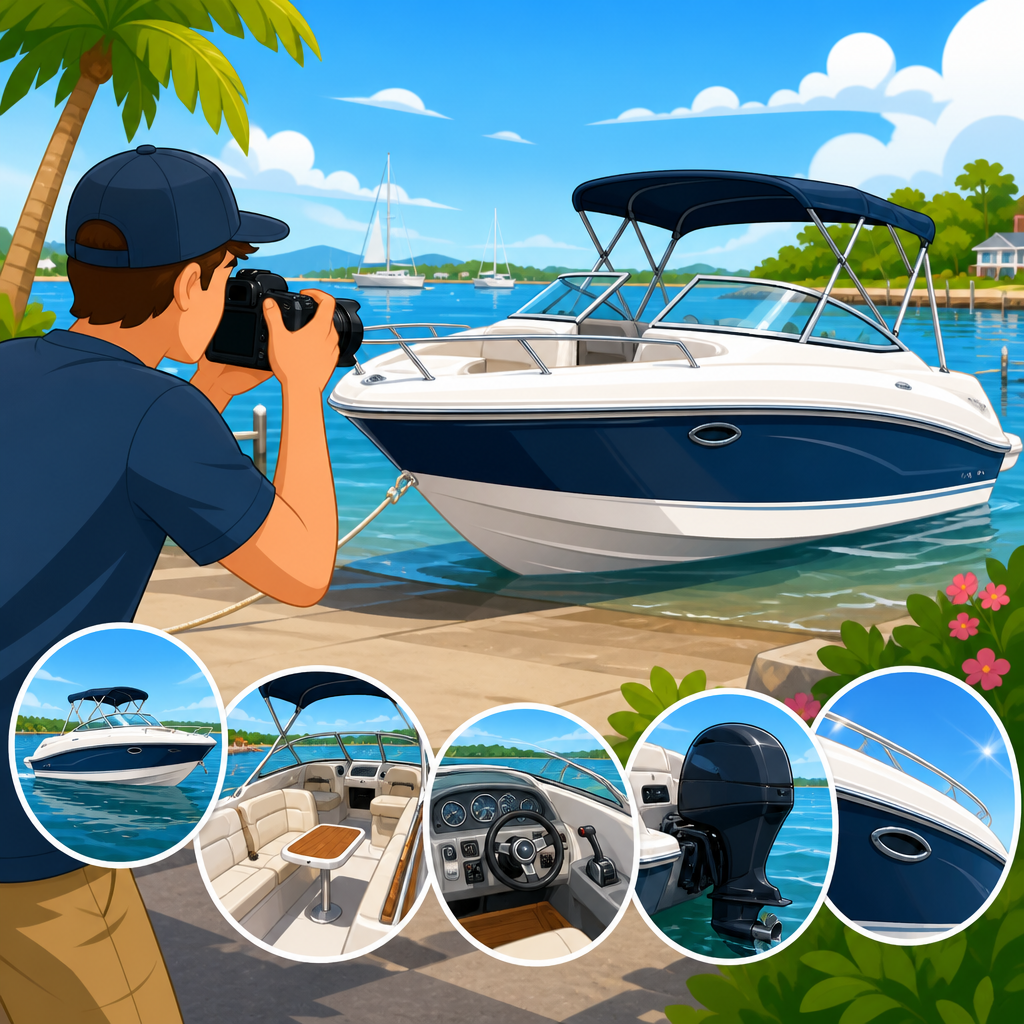
A complete photo package answers the question, “What would I inspect if I drove two hours to see this boat?” Start with a clear hero image: usually a three-quarter bow view or clean side profile. Then cover both sides of the hull, bow, stern, cockpit, helm, seating, deck surfaces, storage compartments, transom, engines or outdrive, trailer if included, and key accessories. For sailboats, include mast base, winches, standing rigging, spreaders if visible, sails, traveler, and below-deck spaces. For fishing boats, include rod storage, livewell, fish boxes, leaning post, T-top underside, and transducer setup.
Interiors need logical sequencing. Photograph the entry to the cabin, then wide shots of the main salon or cuddy, galley, head, aft berth, V-berth, and any mid-cabin. Stand in corners or doorways to make spaces understandable. Buyers get frustrated when they see five close-up detail shots but cannot tell how the cabin connects. Include practical details such as stove, sink, refrigerator, shore power panel, air-conditioning vents, battery switches, and water heater if those features add value in your market. Electronics and accessories often support price, but only if the images make them identifiable enough for a buyer to recognize the upgrade.
Do not skip imperfections. Good listing photography is flattering, but top-performing sellers are transparent. If there is a scratch on the starboard aft quarter, a seam split in one cushion, minor corrosion on a fitting, or crazing around a hatch, include a clear close-up after the main beauty shots. That may feel counterintuitive, yet it improves outcomes. Serious buyers appreciate accuracy, and brokers know that transparent listings produce smoother surveys and fewer renegotiations. Hidden defects discovered later damage trust and usually cost more in concessions than early disclosure would have. Transparency is part of getting the best price, not a threat to it.
Compose Photos That Make the Boat Look Larger, Cleaner, and More Valuable
Composition determines whether a boat feels premium or ordinary. Keep the camera level to avoid sloping horizons and leaning vertical lines. Fill the frame with the boat, but leave enough space to show shape and context. On exteriors, a slightly lowered shooting angle often makes the hull look stronger and more substantial. On interiors, shoot from the entrance or furthest corner with the lens around chest height. Too high and the room feels cramped; too low and seating dominates the frame. Straighten cushions, center the wheel, align the canvas, and point the outboard or drive in a visually balanced position.
Use wide shots first, then medium shots, then detail shots. This mirrors how buyers inspect a vessel in person. Wide shots explain layout, medium shots show condition, and detail shots validate equipment and maintenance. For example, in the helm area, start with a broad view showing seat, wheel, throttle, and screens; then add a tighter image of the multifunction display, VHF, engine gauges, and switch panel. In the cockpit, show the entire seating arrangement before highlighting upholstery stitching, storage under seats, or a fold-out table. A random mix of images makes the boat feel less organized, even if the vessel itself is excellent.
Avoid editing that distorts reality. Basic corrections are smart: crop distractions, straighten lines, adjust exposure, and correct white balance so surfaces look natural. Lightroom, Snapseed, Apple Photos, and Adobe Express are all adequate for this. Do not oversaturate water, remove blemishes that materially affect condition, or stretch wide-angle images until bulkheads curve unnaturally. Buyers compare listing photos with in-person reality quickly, and disappointment hurts closing odds. The right goal is not fantasy. It is credible attractiveness. When a buyer arrives and says the boat looks as good as or better than the photos, you have created ideal selling conditions.
Use Photos Strategically to Support Asking Price and Buyer Confidence
Great photos do more than attract views; they strengthen your pricing position. When a listing includes complete, sharp, trustworthy images, buyers infer that the seller is organized and that the vessel has likely been cared for. That assumption matters because used boat pricing is never based only on model, year, and engine hours. Condition, upkeep, equipment, storage history, and ownership habits all influence value. Good photography communicates those variables quickly. In practice, a clean visual presentation can justify a stronger asking price relative to similar boats with poor listings, even when specifications are nearly identical.
Photos also help filter the right buyers. A sparse listing with six images invites broad curiosity but weak commitment. A detailed listing with thirty or more useful photos tends to generate more informed inquiries. Those buyers ask better questions, request surveys for serious reasons, and are less likely to disappear after a first call. If you are building a hub around how to sell your boat for the best price, this is a core principle: every part of the listing should reduce friction and increase trust. Photos, pricing logic, maintenance records, and description quality should all support one another rather than compensate for one another.
Finally, think of your photo set as the central asset that feeds all your sales channels. The same polished images can be used on marketplace listings, broker submissions, email follow-ups, social posts, and spec sheets. If the boat does not sell immediately and you need to adjust headline, description, or price, the photos remain your strongest conversion tool. Invest the time once, and they continue working throughout the sales cycle. Clean, complete, honest photography brings more qualified attention, protects negotiating leverage, and helps your boat stand out for the reasons that matter most to serious buyers.
Taking great photos for your boat listing is one of the most practical ways to improve your final sale result. Strong images increase clicks, answer buyer questions early, reduce uncertainty, and create the kind of confidence that supports better offers. The process is straightforward: prepare the boat carefully, shoot in favorable light, document every meaningful area, compose images intentionally, and edit only for clarity and accuracy. Whether you are selling a fishing skiff, wake boat, sailboat, or express cruiser, the same principle applies. Buyers pay more readily when the listing shows a well-cared-for vessel in complete, trustworthy detail.
If your larger goal is to sell your boat for the best price, treat photography as part of the pricing strategy, not a last-minute task. Good images reinforce maintenance claims, showcase upgrades, and make comparable listings look weaker by comparison. They also reduce wasted conversations with buyers who were never a fit. In a market where most first impressions happen online, your camera is part of your sales process. Prepare thoroughly, photograph honestly, and publish a listing that makes buyers feel informed before they ever step aboard.
The next step is simple: clean the boat, make a shot list, and capture a complete set of photos before writing your listing. When your images are sharp, organized, and credible, the rest of the sale gets easier, faster, and more profitable.
Frequently Asked Questions
What are the most important photos to include in a boat listing?
The most effective boat listings tell a complete visual story, not just a flattering one. Start with clear exterior shots from multiple angles, including both sides of the hull, the bow, the stern, and a strong three-quarter view that helps buyers understand the boat’s shape and overall condition. Then include wide interior photos of the cockpit, helm, cabin, galley, head, berth areas, and any major seating or entertaining spaces. Engine photos are especially important because serious buyers want immediate reassurance about mechanical care, cleanliness, and access. You should also include images of electronics, upholstery, flooring, storage compartments, trailers if included, and any standout upgrades such as recent canvas, repowered engines, updated navigation equipment, or new teak work.
Just as important, show the boat honestly and completely. Buyers become skeptical when listings avoid key areas or only rely on glamorous dockside shots. If there is a generator, photograph it. If the boat has a head, show it. If the transom has wear, clean it and photograph it properly rather than hiding it. A complete photo set builds trust, reduces unnecessary questions, and helps qualified buyers feel confident enough to schedule a viewing. In most cases, a thorough gallery will outperform a short set of “best angle” images because it answers the buyer’s first round of concerns before they ever reach out.
When is the best time of day to photograph a boat for a listing?
The best time to photograph a boat is usually during bright but softer natural light, often in the early morning or late afternoon. At those times, sunlight tends to be more flattering, shadows are less harsh, and reflective surfaces such as gelcoat, glass, stainless steel, and water are easier to control. Midday sun can be challenging because it creates blown-out highlights, deep shadows under hardtops and seating, and a washed look on white surfaces. Boats are especially difficult to photograph in harsh overhead light because so many materials on board are glossy or reflective, which can make details disappear.
That said, lighting should support clarity above everything else. A clean, evenly lit boat on a lightly overcast day can photograph beautifully because clouds act like a diffuser, reducing glare and helping colors look more natural. Interior shots also benefit from this softer light, especially when you are trying to capture cabins and enclosed spaces without extreme contrast. The key is consistency and visibility. If one side of the boat is fully shaded and the other is extremely bright, repositioning the boat or waiting for better light may be worth the effort. Buyers do not consciously analyze lighting technique, but they absolutely respond to images that feel crisp, calm, and easy to understand.
How should I prepare my boat before taking listing photos?
Preparation is what separates average listing photos from persuasive ones. Before you take a single image, clean the boat thoroughly inside and out. Wash the hull, wipe down stainless hardware, clean windows and eisenglass, remove mildew, vacuum carpets, and make sure seats and cushions are dry and presentable. Declutter every visible area. Remove life jackets piled in corners, loose dock lines, cleaning bottles, spare parts, food containers, tackle mess, and personal belongings. Buyers want to imagine themselves stepping into a well-kept vessel, not inheriting someone else’s storage problem. If the boat has canvas, decide whether it looks better opened, folded, or removed entirely, depending on the model and the space you are trying to show.
Beyond cleanliness, stage the boat to emphasize space and care. Straighten cushions, align wheel position at the helm, coil lines neatly, and open compartments only if they are clean and useful to the buyer. Turn on electronics where appropriate, make sure cabin lights work, and consider airing out enclosed spaces before photographing interiors. If the boat is on a trailer or in a yard, pay attention to the surroundings as well. Trash cans, hoses, tools, and random equipment in the background can undermine the perceived condition of the vessel. Good prep does not mean making the boat look artificial. It means removing distractions so buyers can focus on the boat’s real condition, layout, and value.
Is it okay to use a phone camera, or do I need professional photography?
A modern phone camera can be good enough if you use it carefully, in strong natural light, and with attention to framing, stability, and cleanliness. Many sellers make the mistake of assuming the device alone determines quality, when in reality the bigger issues are poor lighting, clutter, bad angles, and incomplete coverage. If you use a phone, clean the lens first, hold the camera level, avoid digital zoom, and take multiple versions of each scene. Use horizontal compositions unless the platform specifically favors vertical images. Step back enough to show the full area, but not so far that the subject becomes tiny and uninformative. For interiors, avoid extreme wide-angle distortion if it makes the space look unrealistic or warped.
Professional photography is worth considering when the boat is high-value, highly competitive in the market, or difficult to photograph well due to size, finish, layout, or location. A pro can manage reflections, dynamic range, composition, and detail in ways that often lead to stronger first impressions and more buyer inquiries. On premium listings, better photography can easily pay for itself by helping the boat stand out and supporting a stronger asking price. If hiring a professional is not practical, you can still get excellent results by planning carefully and treating the session like a marketing job rather than a quick snapshot task. The deciding factor is not whether the camera is a phone or a DSLR. It is whether the final images create trust, clarity, and desire.
What photo mistakes make a boat listing look cheap or untrustworthy?
The biggest mistakes are poor lighting, missing coverage, obvious clutter, and images that feel careless. Dark photos, blurry shots, crooked horizons, heavy shadows, and random close-ups without context make buyers assume the seller is either hiding something or not serious about the sale. Another common problem is photographing the boat while it is dirty, wet in an unflattering way, or surrounded by distracting yard clutter. Stained upholstery, cloudy windows, tangled lines, open lockers full of gear, and dirty bilges all send a message that maintenance may have been inconsistent. Even a solid boat can look neglected if the photos suggest disorder.
Overediting is another trust-killer. Buyers want attractive images, but they also want honest ones. Filters that distort color, aggressive contrast that hides condition, or framing that avoids important areas can backfire the moment someone requests more details or arrives in person. Too few photos can also damage credibility. If a listing skips the engine room, hull sides, helm, cabin, or trailer, buyers often assume there is a reason. The best approach is simple: use bright, natural, comprehensive photos that present the boat as clean, well cared for, and fully visible. A listing feels premium when the photography reduces doubt. It feels cheap when the images create more questions than answers.